 Phone: 1(877) 215.8104
 Login
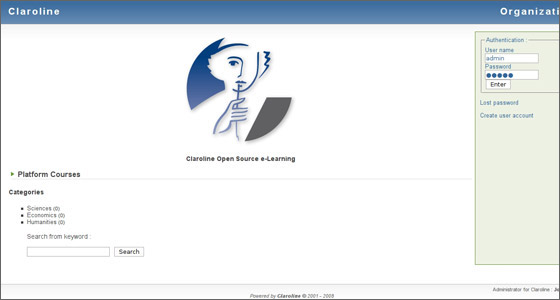
LoginTo create a new course with your Claroline application, you have to log in with your administrative details first.
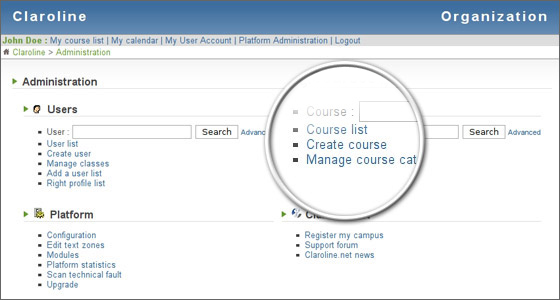
Then you need to create a new category of courses. To do this, go to the Platform Administration menu and click the “Manage course categories” link.
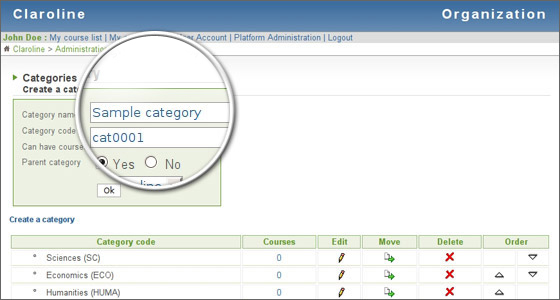
Next, click on the “Create category” link in the top left part of the screen.
Here you should enter the name for your category. For the purpose of this tutorial, we will use “Sample category”. Right after that you have to set a code for your category. You should save this code for future use.
When you are ready, just click on the “OK” button.
Now you should go to the “Platform Administration” menu and click on the “Create course” link.
Here you should insert the information for your course – its name, the correct category (Sample category in our case) and to specify the access level for this course.

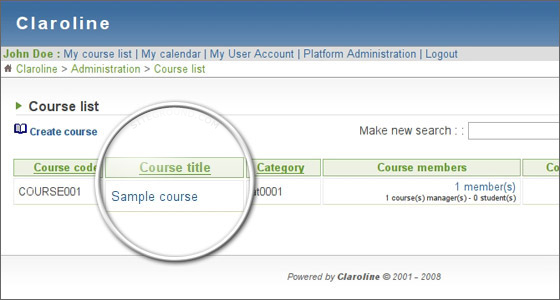
You course should be created successfully! Now you should enter the appropriate content in it. To do this, go to Platform Administration and choose Course list. Next, click on the “Sample course” link under the “Course Title” column.
From this page you can modify your course. First, you should start with adding text on its main page. To do this, click on the “Add text” link.
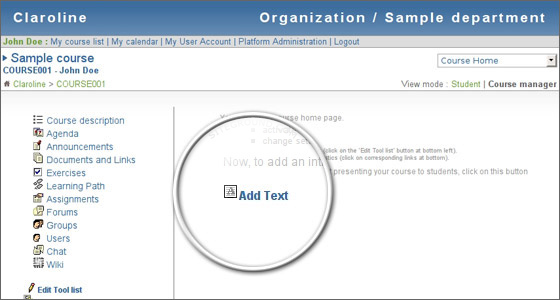
Once you do this, you will be forwarded to a friendly WYSIWYG(What You See Is What You Get) editor that will allow you to create an introduction page for your course. You will find it very intuitive and easy to use.

Your course is now ready! You can continue with adding documents, exercises and more information to it.