Phone: 1(877) 215.8104
 Login
LoginThe standard Dolphin system requirements are met on the FastWebHost servers. To accomplish the installation you need to download the latest version from the following URL.
Extract the archive on your computer. Then you should upload the extracted files through an FTP Client.
Place the Dolphin installation files at the exact location where you would like your site to be accessible. If you want to open it directly through your domain name you should place the content of the extracted package straight under the public_html folder of your account.
You need to create a new database and assign a database username to it with full privileges. You can follow our detailed tutorial on Creating MySQL database and user.
In order to initiate the Dolphin installation, open the folder where you have uploaded it via your web browser. For example, if you have placed the files in the public_html/Dolphin folder, enter http://www.yourdomainname.com/Dolphin in your web browser. Substitute www.yourdomainname.com with your actual domain name.
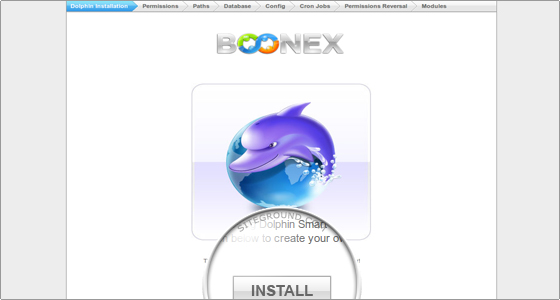
You should click on the Install button to proceed with the script installation.
On the next screen the script will perform a system requirements check. The FastWebHost hosting servers are optimized for the best Dolphin performance and the system requirements are met.
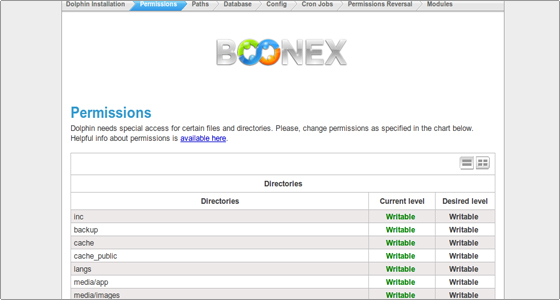
If your account is hosted on another server and there are problems, they will be reported by the script. Fix them and click on the Check button to verify. If all the requirements are met click on the Next button.
On the third screen a script paths check is performed. The paths to the dependencies are automatically detected by the script.
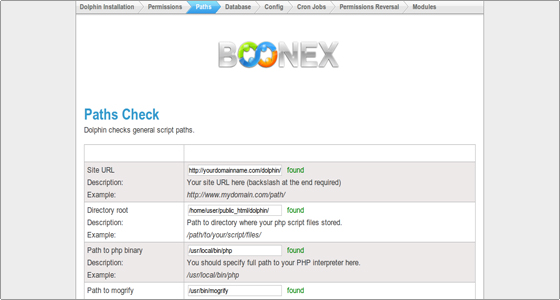
Click on the Next button to continue.
On the new screen you will be prompted for the MySQL database details. You should enter the MySQL database name, the database username and the password. The other fields values are default and you can leave them unchanged.
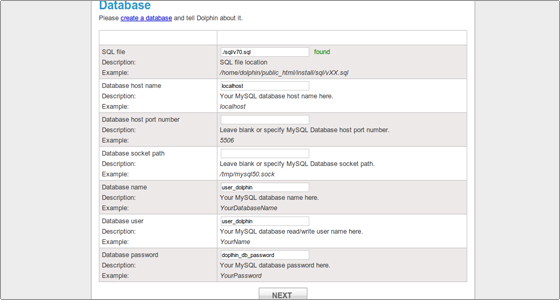
Again, click on the Next button to continue.
On the Configuration screen enter the admin login details and the e-mail for correspondence.
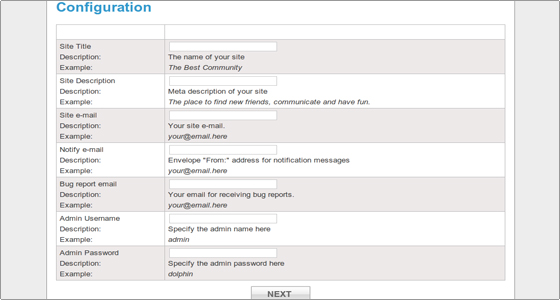
Click Next to proceed.
On the next screen the cron jobs will be listed.
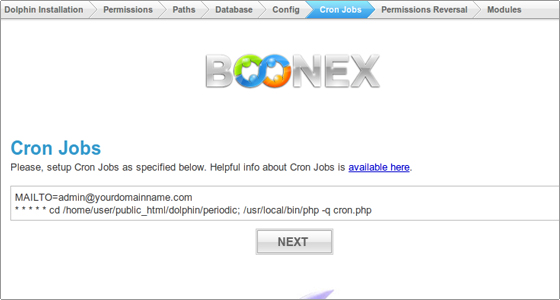
You should set them following our comprehensive cPanel tutorial.
Click Next to continue.
On the last screen you will see a list of files. Due to security reasons you should revert their file permissions. Check the following tutorial on how to change the file permissions.
After the fixing of file permissions click on the Next button to complete the Dolphin installation.
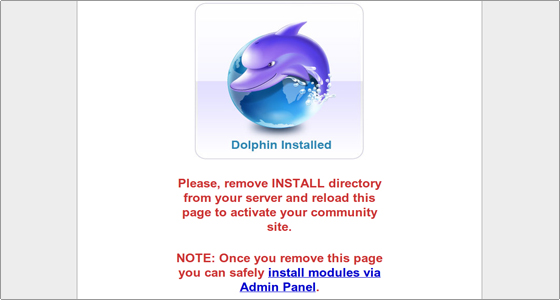
The last action which should be performed is to remove the installation folder and reload the final page.
You are ready to build your community.