Phone: 1(877) 215.8104
 Login
LoginThe clients that have mobile phones working with the Android OS can use the default mail application called: Email (In some Android releases the application name is Mail).
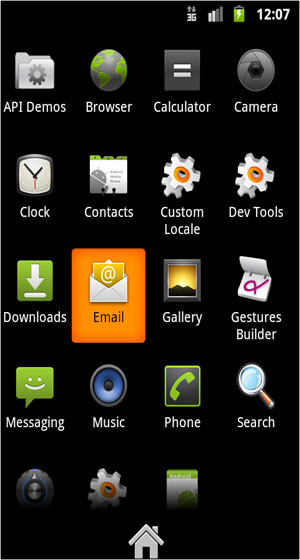
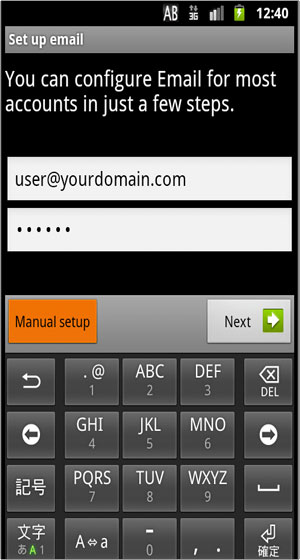
Prior configuring the mail settings make sure that you have an Internet connection through a Wifi access point or through the mobile network.The program can be opened from your Android phone Home screen -> All programs. Press the Email icon to load the application. Then click on the Other (POP3/IMAP) option under the Choose a mail provider screen.On the next window enter the Email address and the Password of your e-mail account. Then click on the Next button.
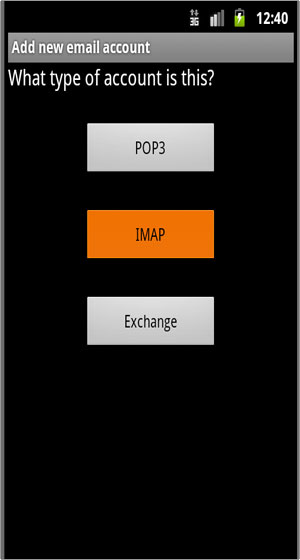
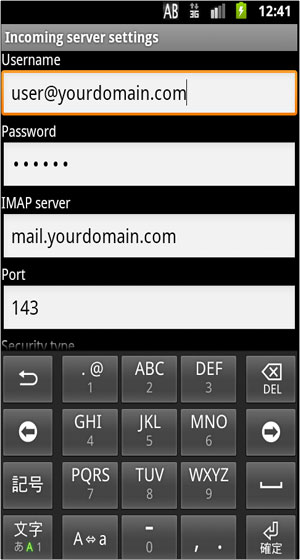
Enter the Incoming settings for the e-mail account. Pick POP3 or IMAP as the incoming mail protocol.
Verify the e-mail address and the username. Enter the POP3/IMAP server address. Pick the connection’s security type (None/SSL/TLS) and the server port if it differs from the default one. Click on the Next button.
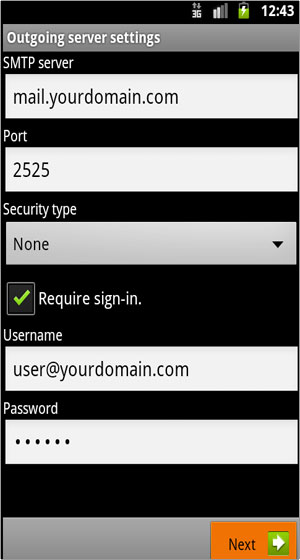
Continue with the Outgoing server settings. Make sure that there is a tick in the Require sign-in check box. Verify the login details and the SMTP server settings. Pick the connection’s security type (None/SSL/TLS) and the server port if it differs from the default one. Click on the Next button.
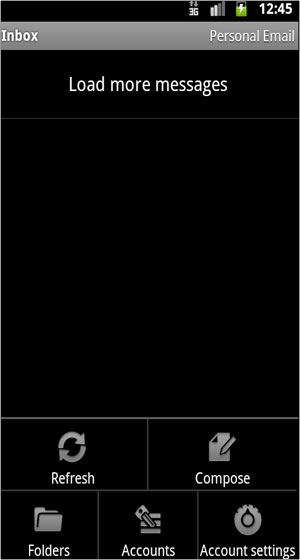
The entered information will be verified. Then you can complete the setup by clicking on the Finish setup button. Once you are ready you will be able to use your Android smart phone to manage your e-mails.