 Phone: 1(877) 215.8104
 Login
LoginIn this section we will teach you how to create your own ATutor theme.
How to create your own ATutor theme
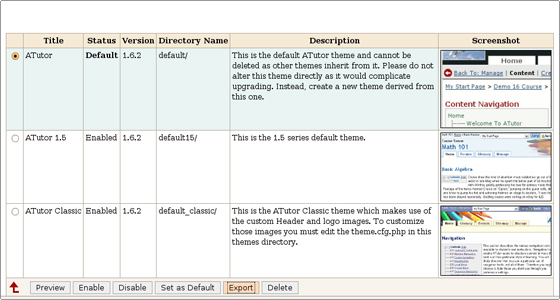
We will show you the most preferred way to create a new theme. In order to complete the task, we will use the files of the default ATutor theme. We will export the theme from the ATutor admin area->System Preferences->Themes.
Once you have the theme files on your computer, you can edit their code.
We will call the new theme “my_theme”.
The necessary files for a new theme are:
- styles.css
- theme.cfg.php
- theme_info.xml
- screenshot.jpg
- include/header.tmpl.php
- include/footer.tmpl.php
The theme name should be entered in the theme_info.xml file. The line where the modification should be completed is:<title>my_theme</title>
If templates are not found under the new theme, they will be inherited from the default one.
In order to modify the theme files you will need some basic HTML, CSS and PHP knowledge.
Once you are ready with the modifications, put the above files in a folder called “my_theme”. Create an archive of it.
Then follow the steps for the installation of a new theme. Once the theme is installed, you can set it as the default and check the result.
If you need to perform further modifications on the theme files, look for them in atutor_directory/themes/my_theme. The files can be opened and edited through cPanel ->FileManager.