 Phone: 1(877) 215.8104
 Login
LoginCreLoaded Pre-installation
STEP 1 Upload and extract the Cre Loaded files on your hosting account
To install CreLoaded on your hosting account, you should first of all download the CreLoaded files archive from the CreLoaded website on to your local computer. Here you can Download the CreLoaded files.
STEP 2 Create database and user for your Cre Loaded application
FastWebHost servers are compatible with CRE Loaded requirements and you can easily install and run the CRE Loaded application with us.
Once you have the Cre Loaded files extracted on your hosting account, you should create a new database and a username from the cPanel and add the user to the database. Please, check our tutorials about how to create MySQL database and user here.
CreLoaded Web Installation
To start with the online installation, please open your website in a new browser. You will be directed to the installation part of the CreLoaded application. Now you need to press on the button [Install New Store].
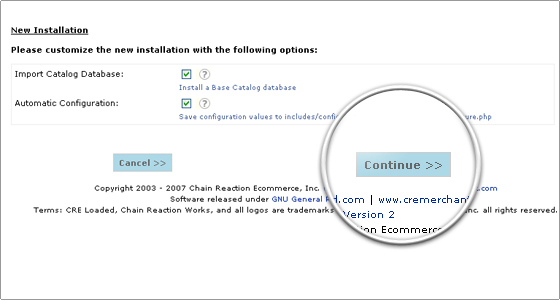
Please, leave the settings on the following screen as is. They are for adding sample products to your CreLoaded website and also automatically setting up the Configuration files ofthe CreLoaded script.
Next you should choose whether to have sample products added to your CreLoaded store with the default installation or not. If you are just starting with CreLoaded we recommend that you install CRE Loaded with the sample data. The sample data will give you an idea how to add products and what the product attributes mean. Next, click [Continue].
Next step is to check the server settings compatibility. The good news is that CreLoaded does it automatically:
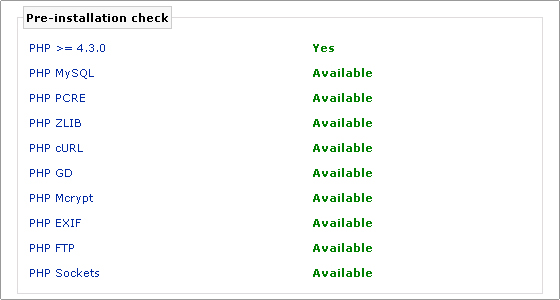
If you have followed the installation steps correctly all of the checks should appear in green. Next, simply press on the [Continue] button located on the bottom of the page.
On the next page you are prompted to write down the host machine for your website, the database user and password.
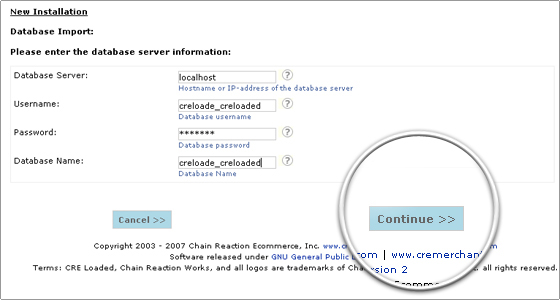
- Database Server: you need to set it to “localhost”.
- Username*: is the one you have created for the CreLoaded Database previously.
- Password: is also the one you have setup for the above database user name.
- Database Name*: would be the database name you have setup.

On the next screen you should once again confirm the database settings and make sure that they are correct. Click [Continue] next.
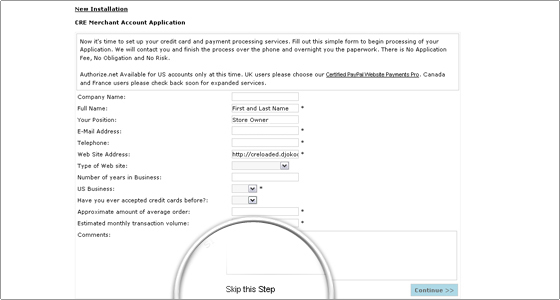
On the next page CreLoaded offers you to apply for a merchant account with them, for this example we will skip that part. You will need to press on to the [Skip this Step] to go to the next page.
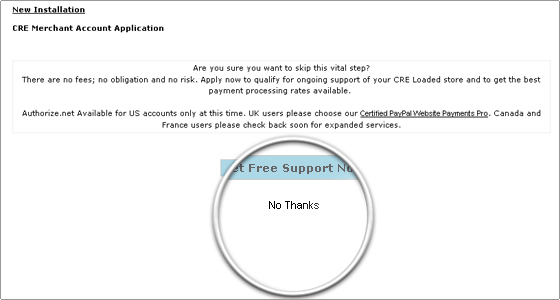
You have a tempting button to get free support again you would be promoted to sign up for a Merchant account with CreLoaded. You need to press onto [No Thank] button to carry on with the installation.
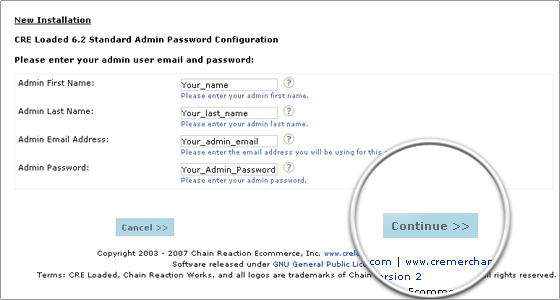
You will now be sent the email with the logins for your admin panel for the CreLoaded store and also you will get a confirmation that the installation has been completed.