 Phone: 1(877) 215.8104
 Login
LoginTo install CubeCart manually on your e-Commerce hosting account, you should first of all download the CubeCart files archive on your hard drive. Note that CubeCart is a paid script. You can still download, install and use for free the old release CubeCart v3. If you would like to use CubeCart v4 a license should be purchased from CubeCart’s official website.
In this section we will use the currently available free 30 days trial to demonstrate how to install CubeCart v4 for your hosting account. To start you need to register on the official CubeVart web site and sign up for the free trial. Once you have done so you will be provided with a custom 30 days trial license and you will be able to download the CubeCart installation files via the Dashboard at your customer area with CubeCart.
Once you have downloaded the release you would like to use, you can upload it to your hosting account using an FTP client or the File Manager tool under your Cpanel. More detailed information how exactly you can do that can be found here:
- How to upload your website with Cpanel
- How to upload your website with FTP
As soon as the upload of the file is completed, you can unpack it using the File Manager tool. In order to do that, you should access the file manager from your CPanel, find the CubeCart package, click on it and extract it using the “Extract File Contents” button.
Creating Database and User for your Cube cart installation
The Cube cart application needs a MySQL database and a user to operate. Please, check here how to create MySQL database and user.
For the rest of this guide we will assume all file have been successfully uploaded to thedirectory /public_html/cubecart for your hosting account. You can now launch the installation by accessing the folder in question via a web browser. In this case the URL will be of type:
http://yourdomain.com/cubecart
Cube cart installation – Step by Step
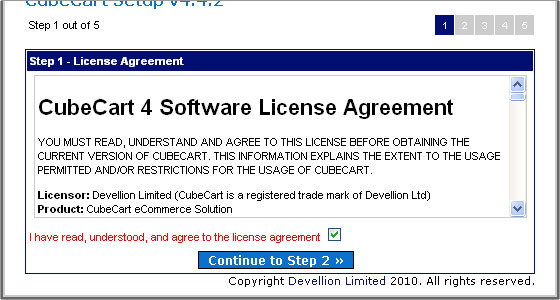
Next the installer will load the license agreement for the new CubeCart installation. You will need to agree with the specified terms of use then click the “Continue to Step 2” button.
A new page will load that will verify if permissions are properly set for specific CubeCart folders and the configuration file. If you have not made any modifications manually this step will be passed automatically on all FastWebHost accounts for each CubeCart version. You can now click the Continue to Step 3 button.
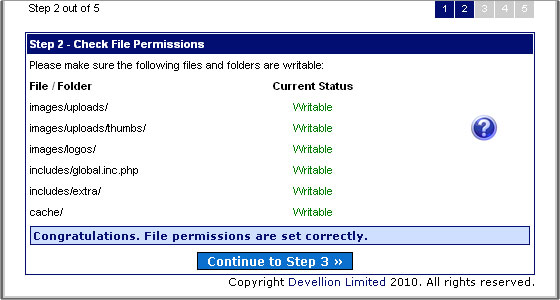
Note that if the current permissions are not set appropriately you will need to change theme. Permissions could easily be changed via an FTP client.
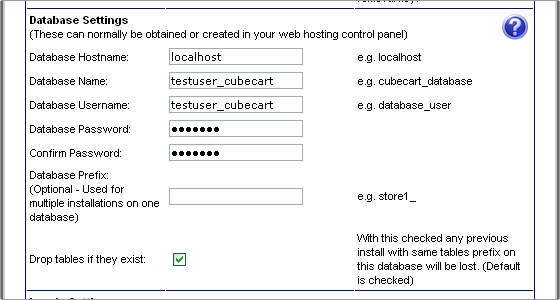
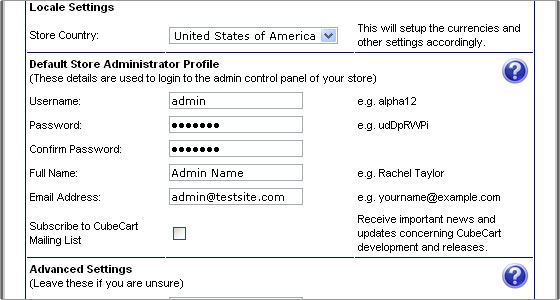
On the next screen you will be asked to fill all general details for the installation. Note that at this point you will be asked to provide your CubeCart license key. We will use the 30 days free trial license in this case.
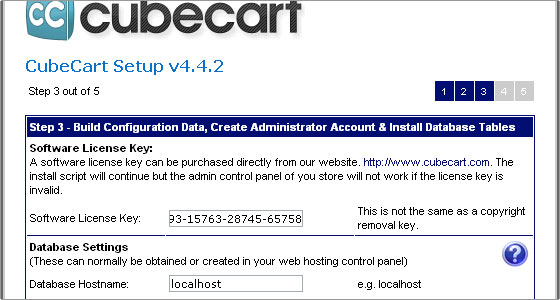
Also you will need to enter the MySQL database details for the database you created for this installation and the username added to it.
Finally enter the desired default administrator details and click Continue to Step 4.
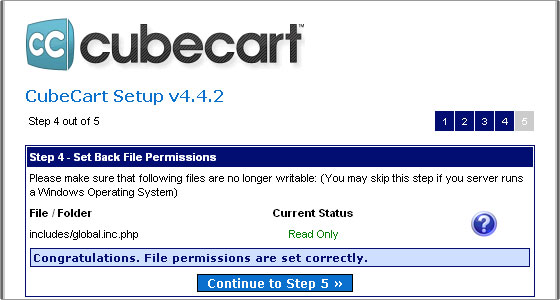
Another page will load that will verify the configuration file permissions are set accordingly and it is no longer writeable. Click Continue to Step 5.
The Installation Completed page will load. You will be provided with links to your CubeCart administrator backend and the frontend for the newly installed online store.
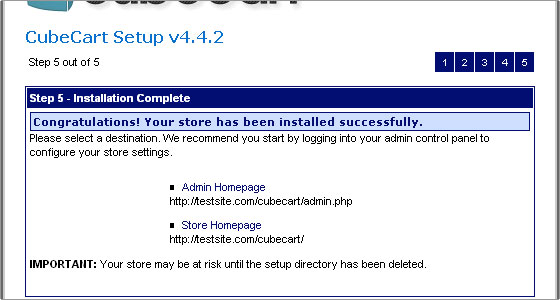
It is advisable to login to the administration backend and adjust the settings according to your needs first. You should use the username and password that were entered during the installation process.