 Phone: 1(877) 215.8104
 Login
LoginThis article has been designed for those who have downloaded and installed CubeCart successfully and wish to give it a completely new look or adapt CubeCart to look like the rest of their site. CubeCart 3 has been created to allow for the usage of HTML templates which means that all the logic behind how your store operates is separate from the look and feel.
These HTML templates are extremely flexible and your store can be made so individual from others that you would find it impossible to decipher which sites are powered by CubeCart and which are not.
STEP 1 Upload the new skin directory
You can upload the files to your hosting account using an FTP client or the File Manager tool under your Cpanel. More detailed information how exactly you can do that can be found here:
- How to use File Manager
- How to upload your website with FTP
For the rest of this guide we will assume all files have been successfully uploaded to the directory /public_html/store and that the web site domain is www.yourdomain.com
So you need to upload your new template to the following location:
/public_html/store/skins
STEP 2 Making your new skin the default
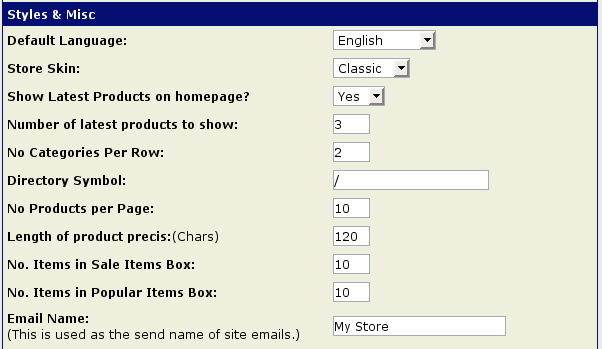
Once the files have been uploaded you need to tell CubeCart to use the new skin directory you have uploaded. To do this login to your administrator control panel and under [Store Config] click the [General Settings] link.

Once this has loaded within the Styles & Misc section you will see [Store Skin]. Use the drop down menu to select [MySkin] or whatever you named the folder. At the bottom of the page click [Update Settings].
Well done! You have successfully changed your template!
Reskinning the Store
Either use your favorite text editor program or a WYSIWYG editor such as Adobe Dreamweaver to redesign the layout and look of your store. CubeCart uses XHTML code and CSS for layout as this amounts to smaller page sizes, better compatibility for text to speech readers and faster browser rendering. The following elements of the HTML must be considered.
Macros: Any part of the HTML code which is surrounded by curly brackets is a macro. e.g. {VAL_PRODUCT_ID}. The PHP script, which powers your store substitutes these with output taken from the database, configuration file or language file. They are dynamic which mean their value may vary each time the page loads.
HTML Comments: These are used to give behaviors to the HTML code. For example they are used for repeat regions of area which will only show under certain conditions. These can be identified as follows:
<!-- BEGIN: region_name --><!-- END: region_name -->
As the code suggests the start or a region has the code BEGIN and end has the name END.
Be very careful when moving regions and make sure they are not accidentally deleted as your store may not function properly.