Phone: 1(877) 215.8104
 Login
LoginCuteFTP is an FTP client software used for transferring files over the Internet. It has an easy and intuitive interface and will help you a lot when publishing your web site or downloading files. Cute FTP is fully compatible with our FTP hosting. You can download a free trial version of Cute FTP or purchase the FTP client software from here:
How to use CuteFTP Client
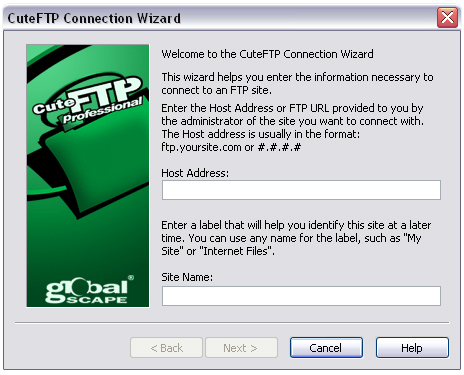
CuteFTP has a connection wizard that will walk you through the setup of an FTP connection.
STEP 1: The first screen prompts you for the host address of the server, for which the FTP connection will be established. You also need to enter the label for your new connection. You can use your domain name if you like.
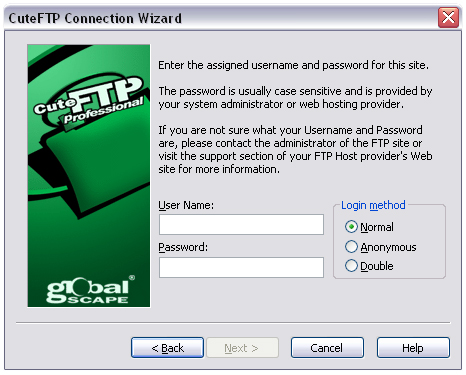
STEP 2: The next screen prompts you for your FTP username and password. Enter them in the corresponding boxes and click Next.
STEP 3: Here you are prompted for a ‘default local directory’. You should choose the folder where you keep your website files. Click Next.
STEP 4: The screenshot below shows the panes when you are logged in your web hosting account. On the left you will see your local computer files and on the right the ones under your hosting account.
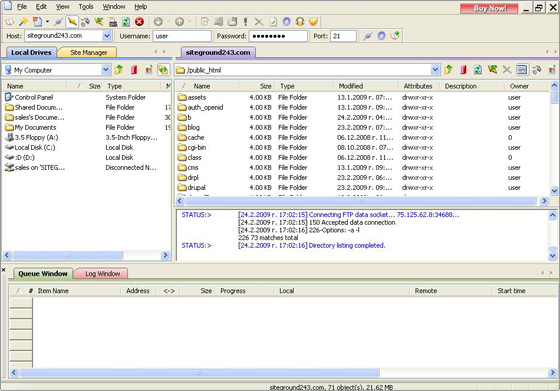
You’ll notice a directory named public_html in your web hosting account. This is the main one for your website content. The files uploaded there are visible when you type your domain in a web browser.
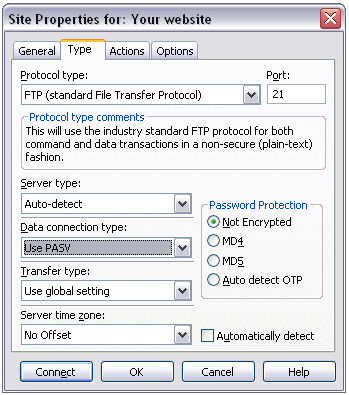
STEP 5: If you are behind a firewall and/or router you often need to use passive mode to get a stable connection. Open the Site Manager and choose your connection by its label. Click on the Type tab and select the Use PASV option from the Data connection type drop-down menu.
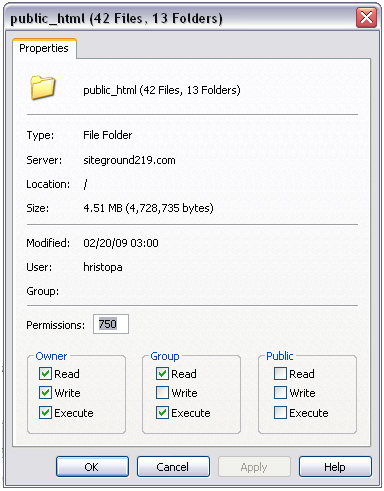
STEP 6: Often when installing scripts and other web tools you will need to “chmod” or change permissions on a file or a directory. Right-click on the file/directory for which you’d like to change the permissions and you’ll get the window below. You can then either type in the permissions you’d like to set using numbers (750 for example) or use the various check boxes to set them.