 Phone: 1(877) 215.8104
 Login
LoginPre-installation Steps
STEP 1 The first step is to download the desired version of e107. You can download e107 from here.
STEP 2 Upload Files
You may uncompress the distrubution file of the application on your local computer and upload all the files in the folder where you would like the CMS installed. You should make sure that they show in the directory in which you’d like to install e107. Please check here for more information on how to setup your favorite FTP client.
STEP 3 Database setup
Please check our MySQL tutorial to see how to create a MySQL database and user.
e107 Installation
After all of the above steps are done you can proceed with the installation. Let’s say that you extracted the e107 package in your /public_html directory.
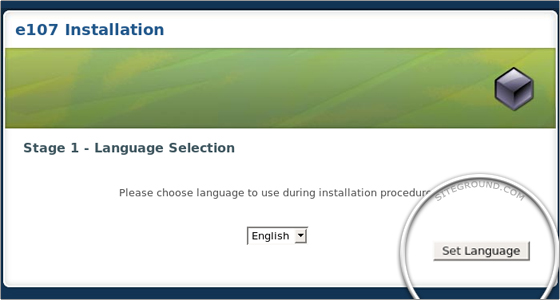
STEP 1 In order to begin the installation, you should type www.yourdomain.com in the address bar of your web browser. The language that the installation comes with is English so on the first step just click the [Set Language] button:
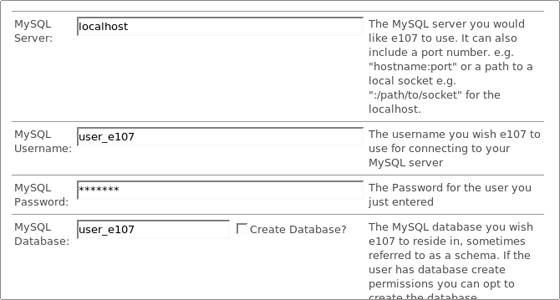
STEP 2 On the second step you will be asked to enter a database that the application will use. Do not check the Create Database check box that is after MySQL Database: because the database that you will need has been already created during the Database setup part of the tutorial.
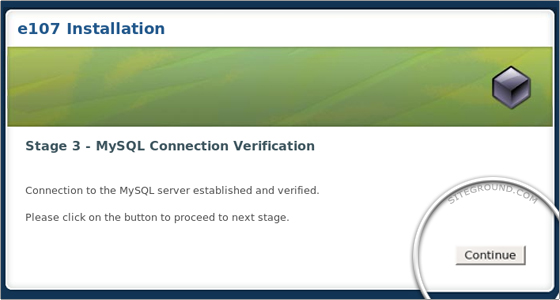
In the next two steps you will have only to click the continue button:
STEP 3 Connection to the MySQL server will be established and verified:
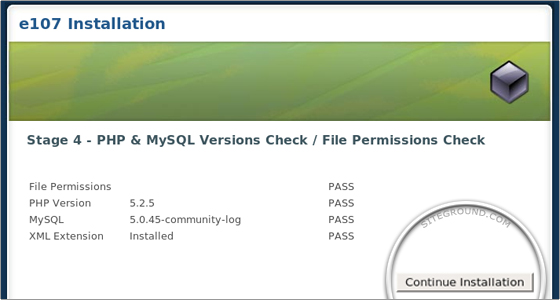
STEP 4 The PHP & MySQL versions and the file permissions will be checked:
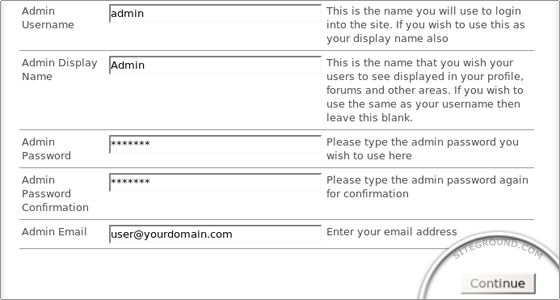
STEP 5 In the next step of the installation you will be asked for the Administrator Details:
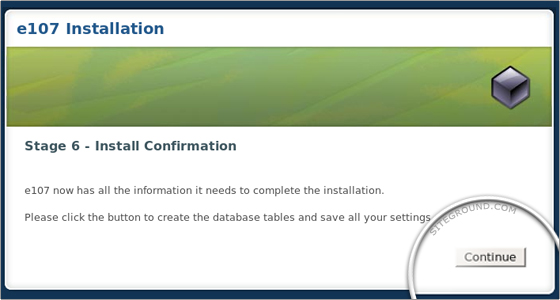
STEP 6 Now e107 has the needed information to complete the installation. You should click [Continue] to proceed:
STEP 7 Last step. For security reasons you should remove install.php from the e107 directory and set the permissions of the e107_config.php to 644 with your File Manager or your favorite FTP client.
When you are ready, click [Continue] and you will be taken to the e107 front end.