 Phone: 1(877) 215.8104
 Login
LoginYou can install phpGroupware software by following these Step-by-step instructions:
STEP 1 Download the installation file from phpGroupware downloads page.
You should choose the platform independent release in tar.gz, tar or zip format. Then you will have the latest stable release of the script in your computer. Extract the archive.
STEP 2 Upload the phpGroupWare files and folders in the public_html folder of your account.
You can do that through FTP with a client like FileZilla. In this way, after the installation is completed, the script will load directly through your domain (for example: www.yourdomainname.com). You can also install phpGroupWare in a subfolder – simply upload the installation file there (for example public_html/subfolder). Then the phpGroupWare installation will be accessible through www.yourdomainname.com/subfolder.
STEP 3 Next, create a MySQL database for PHPGroupWare.
Learn how to create a MySQL database and user here. Make sure that the database collation is latin1_bin. More details on how to change the collation can be found in our phpMyAdmin tutorial.
STEP 4 Change the file permissions for the phpGroupWare installation directory to 755 through cPanel->File Manager.
STEP 5 Navigate to the web address of your PHPGroupWare installation. There you can set up the installation of the script.
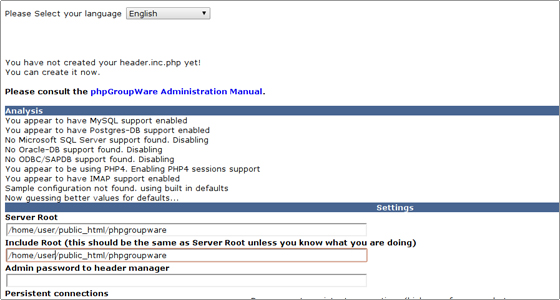
The first two variables (Server Root and Include Root) are automatically set by the script and you should not change them unless you know what you are doing. Then you should set the admin password. You can leave the next nine fields unchanged, since these are the default values for them. Then you should set the database name, the database user and the password. You should use the ones, which you have set in Step 3 of the installation instructions. Once it is completed you should set the password for the configuration user. The last step is to write the configuration and continue to the setup section.
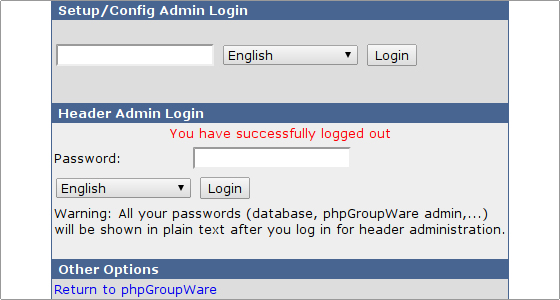
STEP 6 In the setup section you can reconfigure the script through Header Admin Login or to setup the script through the Setup / Config Admin Login.
STEP 7 Once you login with the Setup / Config Admin details, you will be able to setup the applications, included in the script.
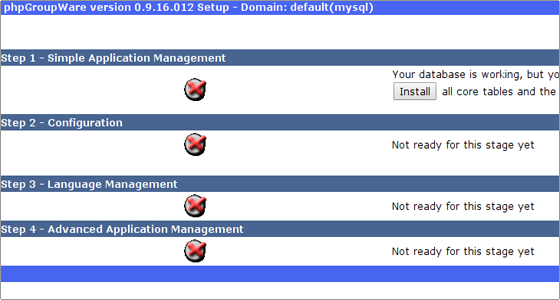
STEP 8 Install the applications and then recheck the installation.
STEP 9 Navigate to the Configuration section.
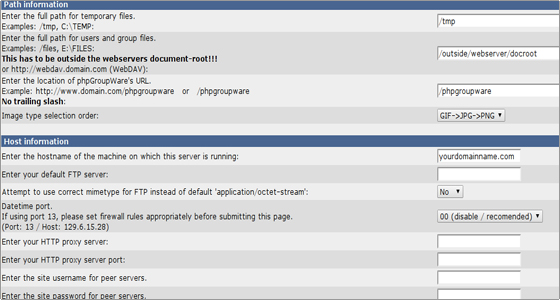
In this section you should only specify the absolute path to a folder, called files, which should be created through your cPanel->File Manager in the root folder of your account. It should be on the same level as the public_html folder. If the user of your account is “user” (the one, which you use to log in your cPanel), then the absolute path will be:
/home/user/files
Then you can leave the default values of the other variables, since they are already set by the script installation. However, if you are familiar with the script functionality and you need a change in the values, you can proceed. At the end you should click on the Save button to write the configuration.
STEP 10 You can create the administrator user by clicking on the Click Here to setup an admin account and (optionally) 3 demo accounts link.
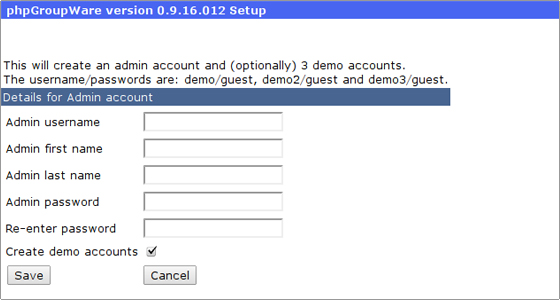
Once you are ready, you can navigate to the main URL of your phpGroupWare installation.