 Phone: 1(877) 215.8104
 Login
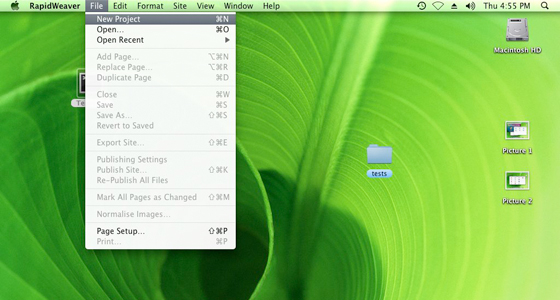
LoginIn order to configure Rapidweaver, start the application and go to File menu New Project.
Click on the Setup icon in the top right corner of your screen. In the newly-opened window you should enter the title and personal information for your website.
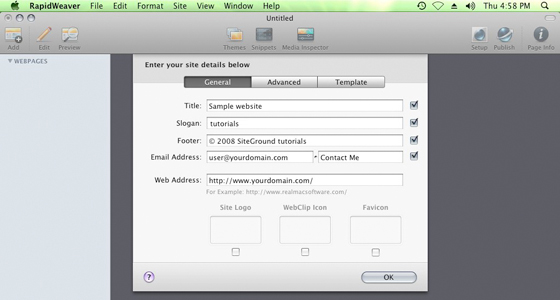
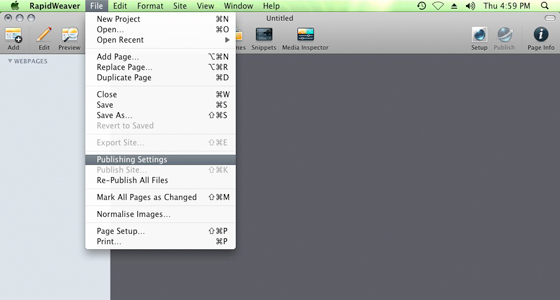
Once you have done that, click on the OK button. Next, you have to set up the publishing settings for your website. You can do this from the File menu Publishing Settings option.
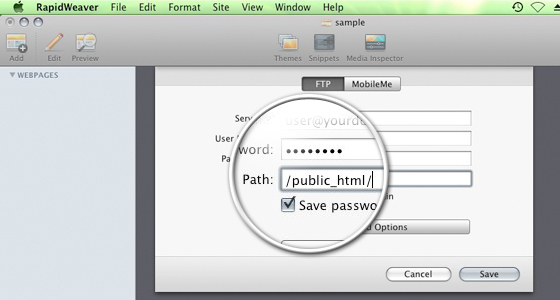
You have to enter valid FTP login details so Rapidweaver can connect to the server. If you want to create a primary website for your account, you should specify /public_html in the “Path” setting. Alternatively, you can set /public_html/subfolder if you wish to create a web page into a subdirectory of your website. Such page will be later accessible via www.yourdomain.com/subfolder.
Congratulations! You have now correctly configured Rapidweaver to work with your hosting account!