 Phone: 1(877) 215.8104
 Login
LoginThis tutorial is designed to show you how to use Softaculous to install a WordPress application to your site. It will take only few minutes and literally no advanced skills to have a fully functional WordPress instance in your hosting account.
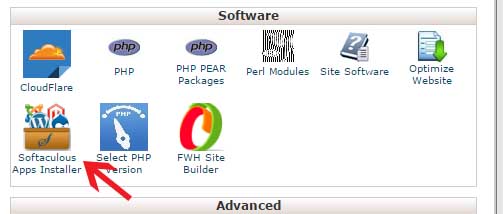
First, login to your cPanel account and find the Softaculous icon under the “Software Services” section. It should be located in the lower part of your cPanel page, right under the “Domains” section.
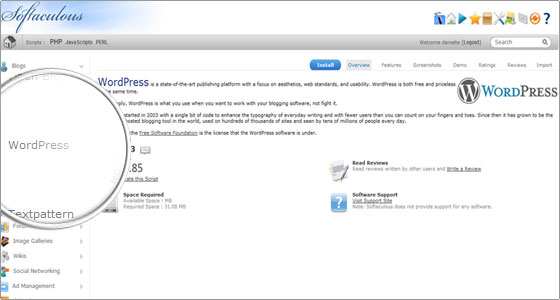
Once you click on the Softaculous button, you will be redirected to the page where you have to chose the application you want to install. On the left side of your screen locate the “Blogs” category, click on it and then click on the “WordPress” link that will appear.
On the next page, press the Install button at the top of your screen to specify that you want to perform a brand new WordPress installation.
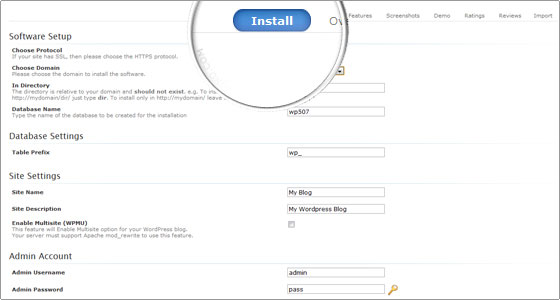
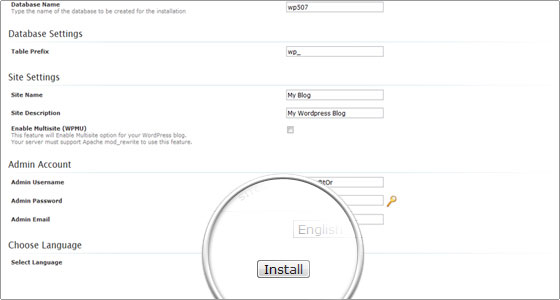
Finally, enter the required fields for your site – title, description, administrative username and password, administrative e-mail etc. and click on the “Install” button. Please note that by default Softaculous will install the application in a “wp” sub-folder. That being said, if you would like to be able to access the website only via your domain name you should delete the wp string from the “Directory” field. If you want to install the application in another sub-folder you should simply type it in the field.
WELL DONE!
Your WordPress application is installed and ready to use. You can now login and start blogging!