 Phone: 1(877) 215.8104
 Login
LoginThis part of the tutorial describes how to use the WP Classified plugin for your WordPress installation. You can find more about WordPress Classifieds plugins here.
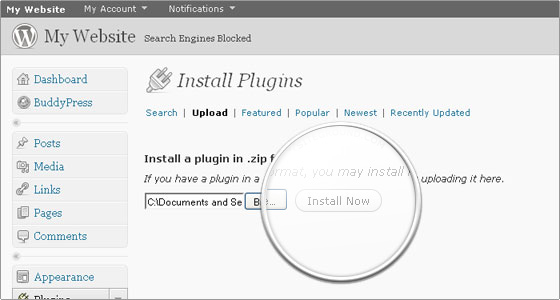
First you will need to have the plugin installed. Download it from the official WordPress plugins directory -> WP Classified. Then have it installed for your WordPress application You can do so via the WordPress admin area -> Plugins -> Add New -> Upload.
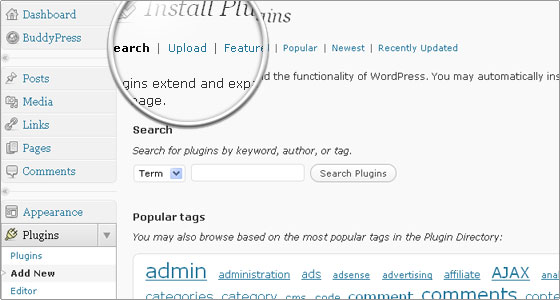
Browse for the downloaded plugin archive and then click the Install Now button.
Once the plugin is installed it can be activated via the Plugins section under the WordPress admin area.
After you have activated the plugin a new wpClassified section will be available on the left side panel under the WordPress admin area.

When you open the wpClassified settings for the first time you will be asked to install the plugin. By clicking the provided link you will add the needed tables in your WordPress database.
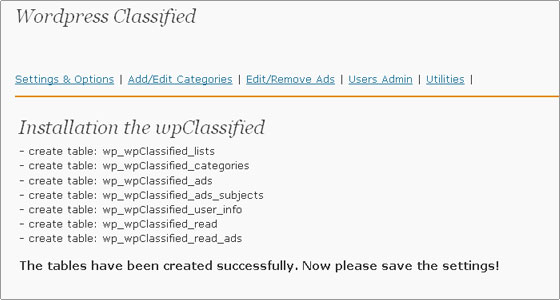
You can now proceed with adjusting the configuration for your newly installed wpClassified. Once the settings are adjusted according to your needs you can start creating new categories and lists for the classified ads users will be posting on your website.
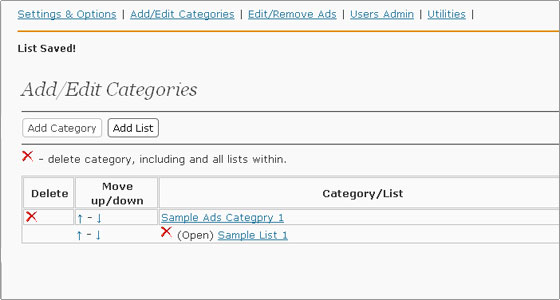
After at least one category with list under it is created ads can be added under it. Here is how it will appear on the website front end.
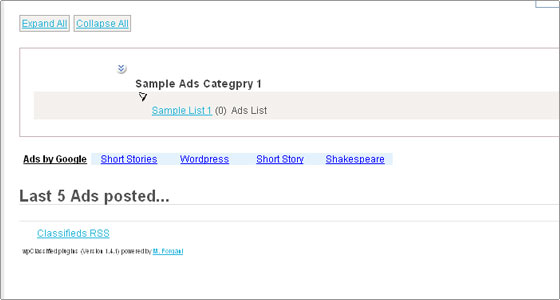
Adding a new classified is an easy task. Click on the desired list in the category where you would like the ad published then click the “Add new Ad in this category” link.

Enter the required information and click Save Ad. That is all.