 Phone: 1(877) 215.8104
 Login
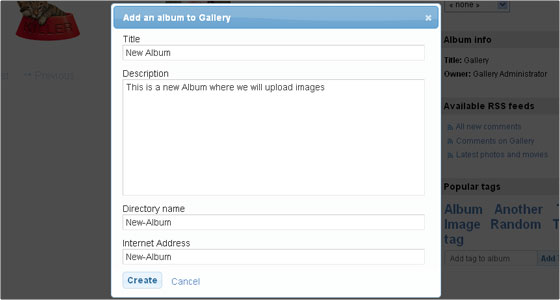
LoginCreating albums and adding images has never been easier. You can do all from the Gallery 3 front end when logged in as administrator via the Add tab. Just Choose “Add” then “Add an album”. A new window will load that will allow you enter the details for the new album you would like to create.
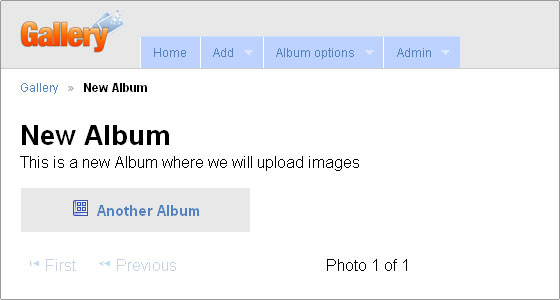
Note that Albums are created as sub-albums for the current location you have opened. For example if you are currently viewing the general Gallery category – the album will be created directly under it. If you have opened an album and create another one – the new album will be created as a sub-album for the current one. As you can see on the screenshot below – we have created an album called “New Album” under the root “Gallery” category and then a sub-album for “New Album” named “Another Album”.
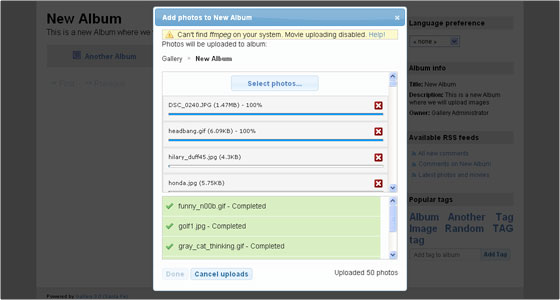
Once you have created the desired album – choose Add -> Add Photos from the main menu. A new pop-up box will appear that will show under which album you are about to upload the photos. Use the select photos button to initiate the upload. Note that multiple images can be selected at a time. Progress bar will show for the image that is currently being uploaded. Also you will see the recently completed uploads and the total uploaded photos this far.
Once all images have finished uploading you all finished uploads and those “in progress” will disappear and you will see a summary how many total images were uploaded
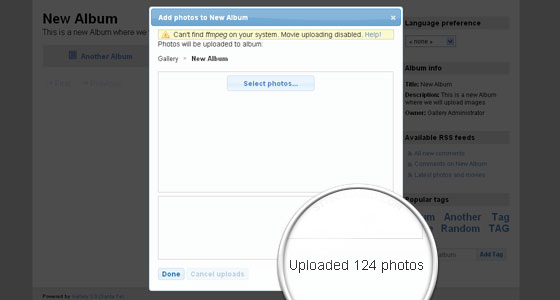
You can now click the Done button. This will bring you to the Album where you have just finished uploading the images and you can new view them in your gallery.