 Phone: 1(877) 215.8104
 Login
LoginAs any open source application Joomla is subjected to all sorts of hacking attacks. This is why it is important to take all possible measures to protect your Joomla site and improve its security. Follow the instructions in this tutorial in order to minimize the chance to get hacked.
This tutorial covers the following topics
- Keep Joomla and its extensions up-to-date
- Use Strong Login Details
- Use Proper File Permissions & Ownership
- Use Joomla Security Extensions
- Often Backup your Joomla Site
- Protect Your Administrative Page
STEP 1 : Keep Joomla and its extensions up-to-date
Probably the most important part of securing your Joomla website is to keep it updated to the latest version. In almost all version releases there are fixes for security issues. For more information on how to update Joomla to the latest version check out our Joomla Update Tutorial.
Keeping your Joomla extensions up-to-date is equally important for the security of your website. Actually, there are more attacks that utilize security issues in extensions than in the actual Joomla 3 core files. For more information on how to keep your Joomla components, modules and plugins up-to-date, please refer to our tutorial on How to Update Joomla Extensions.
STEP 2 : Use Strong Login Detail
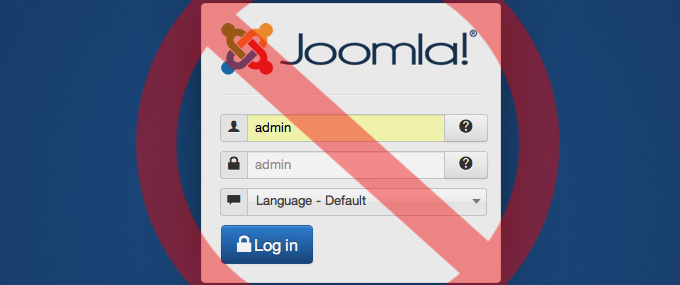
First, you should avoid using default user names like “admin” or “administrator”. Those will be first in the list of words a potential attacker would try.
Next, it is important to have a strong password for your website. Many attackers try to brute-force your login details. This means that they use a list of commonly used passwords to guess yours. There are several tips that will help protect you against such attacks:
- Don’t use common words for passwords like love, god, pass, admin, admin123, etc.
- Avoid personal information in passwords like your personal or family name.
- Avoid password generators. Password generators use algorithms to generate the passwords which can be compromised by an attacker.
- Use as many special characters ( *!@#)$ ), numbers and capital letters in your password as possible.
STEP 3 : Use Proper File Permissions & Ownership
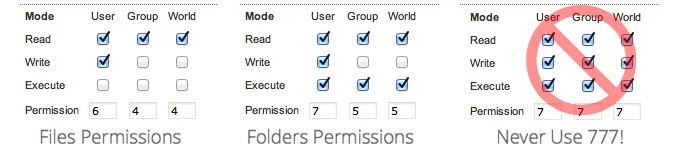
Another important part of having a secured Joomla 3 website is to set the right permissions for your Joomla files and folders. We recommend that you follow these suggestions for your permissions:
- Set the permissions for your Joomla folders to 755
- Set the permissions for your Joomla files to 644
- Set the permissions for your configuration.php file to 444
- Never use 777(full access) permissions!
For more information on how to change your files and folders permissions, please refer to our File Permissions Tutorial.
STEP 4 : Use Joomla Security Extensions
Using security extensions is another easy way to improve your Joomla website security. We have developed our own security extension (jHackGuard) that is free for download by anyone. Below you will find a list of the most popular Joomla security extensions:
- jHackGuard
- Akeeba Admin Tools
- jomDefender
- jSecure
STEP 5 : Often Backup your Joomla Site
It is essential to backup your Joomla 3 site as often as possible. You should always keep a backup copy of your Joomla files and database on your local computer just in case something happens. For more information on the best Joomla backup practices, check out our tutorial on How to backup Joomla.
 In case you loose your personal backups if you're hosted with FastWebHost you can rely on our free weekly backups!
STEP 6 : Protect Your Administrative Page
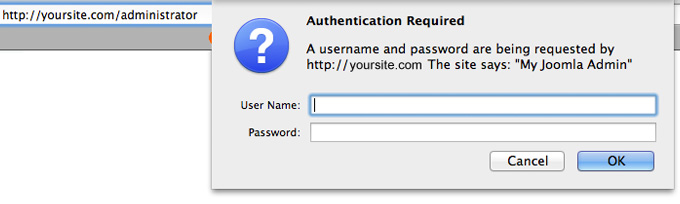
You can greatly improve the security of your Joomla website if you restrict the access to your admin area. First, you can password protect the /administrator folder of your site. To do this, follow the instructions in our tutorial on How to Password Protect Folders. Once you protect your/administrator folder an additional password will be required in order to see the standard administrator login form.
Next, you can restrict the access to the /administrator directory only to your IP address. If there isn’t a file named “.htaccess” in the /administrator directory, create one and upload it via FTP for example, otherwise, just add the following lines at the end of the .htaccess file:
Deny from ALL
Allow from x.x.x.x
Note that you need to replace x.x.x.x with your actual public IP address. To find out your address, you can use the What Is My IP website for example. To add multiple IPs, simply replicate the Allow from x.x.x.x command to a new line and change the address.
IMPORTANT
If your Internet service provider is giving you a dynamic IP address, the IP restriction option might not be suitable for you because you’ll have to edit the .htaccess file each time your IP changes.