 Phone: 1(877) 215.8104
 Login
LoginTo create a backup copy of your Joomla 3 site manually, you need to archive the two parts of the software – all Joomla files and its database. In this tutorial we will provide you with detailed instructions on how to create a local copy of those two parts of your Joomla website.
Follow these steps to install Joomla manually:
- Step 1: Backup all Joomla Files
- Step 2: Backup the Joomla Database
Weekly Backup Included in Our Joomla Hosting Offer!
 We recommend that you do local backups of your Joomla website as often as possible. However, as part of our Joomla hosting service, we create weekly backups of your entire account just in case.
STEP 1 : Backup your Joomla files
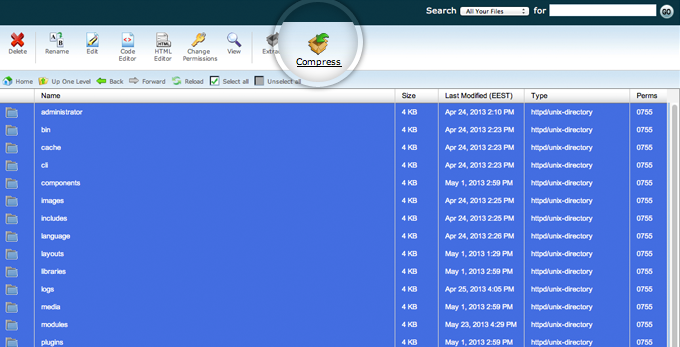
You can always use an FPT client to transfer all Joomla files and folders to your local hard drive. However, Joomla comes with more than 3000 core files. Add your actual media content – photos, videos, extensions etc. and that number will grow even bigger. This means that if you decide to transfer your files via FTP it may take some time because multiple small files are slower to transfer than one big file. A more efficient way to transfer your files is to compress them first into a single ZIP file using the File Manager tool in cPanel. To do this go to the main folder of your Joomla 3 installation, select all files and press the Compress button in the top part of the page.
Now, press the Compress File(s) button and the File Manager will create the archive of all the files and folders you’ve selected.
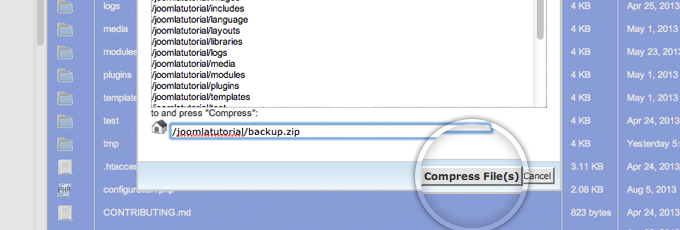
Once you have created the archive of your files you can download it either through an FTP client or navigate to the file using a regular browser to download it on your hard drive.

STEP 2 : Backup your Joomla database
There are two popular ways to create a backup of your Joomla database. The first one is via the SSH console and the second option is to use the phpMyAdmin tool in your cPanel. Either way, you need to know your Joomla MySQL database name, username and the password for it. To obtain this information, open the configuration.php file in the Joomla root directory. In it, locate the following lines that contain the database credentials.
public $user = 'user_joomlat';
public $password = 'password';
public $db = 'user_joomlatut';
Once you have that information, you can proceed with the actual backup creation.
Backup your Joomla database using SSH
To create a backup of your Joomla database via SSH, first you need to access your account. To do that, please take a look on our SSH Tutorial. Next, navigate to your Joomla site folder. Here, you need to use the mysqldump command and the information you’ve obtained from the configuration.php file to create a backup of your database:
mysqldump -uuser_joomlat -ppassword user_joomlatut > db-backup.sql

Finally, navigate your browser to yourjoomlasite.com/db-backup.sql and download the backup of your Joomla database locally.
Backup your Joomla database using phpMyAdmin
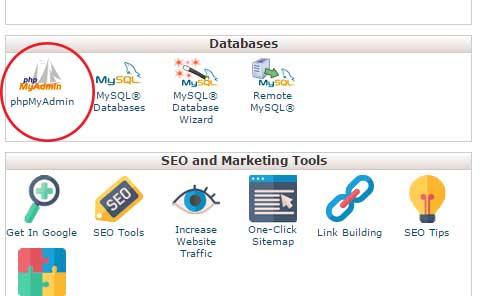
First, login to your cPanel account and open the phpMyAdmin tool which is located in the Databases section.
Now, you have to select the database you want to backup. All your databases will be listed in the left menu of phpMyAdmin. You will get the actual name of your database from the configuration.php file mentioned above.
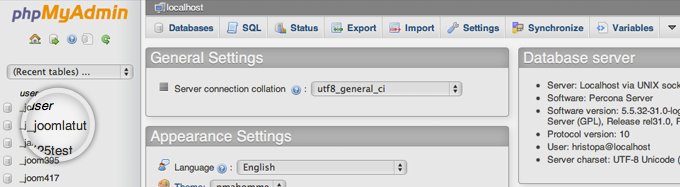
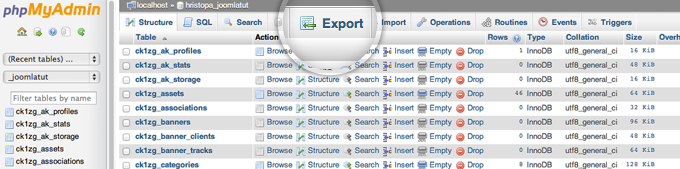
Next, select your Joomla database and press the Export button from the top menu in phpMyadmin.
Leave the options to their default settings and press the Go button.
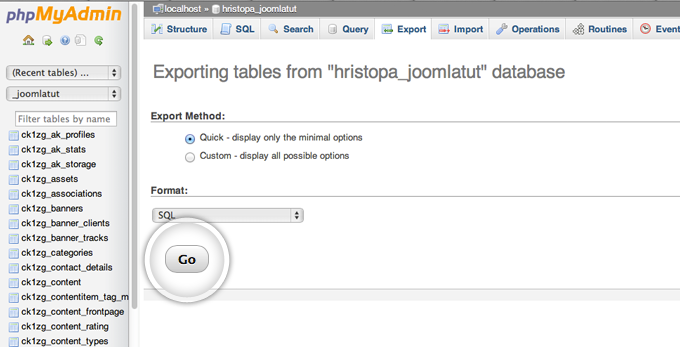
That’s it! phpMyAdmin will generate a backup of your Joomla database which you can download and store on your local computer.