 Phone: 1(877) 215.8104
 Login
Login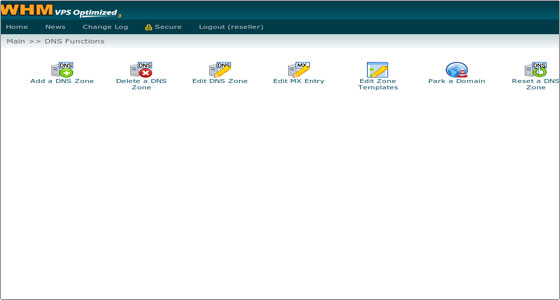
As the name of the section suggests, from here you will be able to manage the DNS of all domains hosted on your VPS.
You will be able to manage the DNS zones of your domains, as well as edit the zone templates.
Let’s start off by explaining what a DNS zone is – it is the administrative part of the domain name system.
It is responsible for directing the domain’s traffic to the correct locations.
In other words, a DNS zone is where all DNS records are kept – it is where you tell to what IP a (sub)domain should point, which is the mail server handling the mail for the domain, etc.
To add a DNS zone, click the Add a DNS Zone button, type the IP to which the domain should resolve (usually the primary IP of the VPS, but it could be a secondary IP as well) and the domain itself:
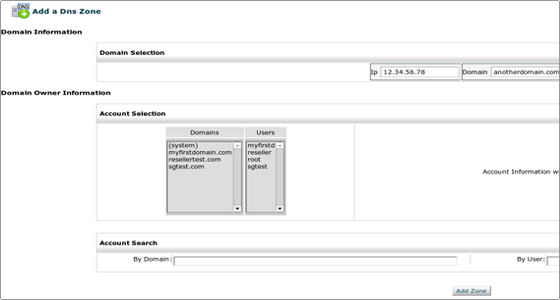
Click Add Zone to create the zone on the server.
You can edit the zone from the Edit DNS Zone option, and, if you want to remove it, you can do so from the Delete a DNS Zone option.
If you have made changes to a DNS zone and you want to revert it to the default values, use the Reset a DNS Zone option.
The Edit MX Entry option allows you to configure the email routing for the domains on your server.
It will list the mail servers for a particular domain, along with the priority value for each with 0 being the highest priority, i.e. this mail server will be the first to handle the email for the domain.
The Edit Zone Templates option will allow you to edit the default DNS zones used when creating DNS entries. Unless you have a custom setup and you know what you are doing, you will not need to use this option.