 Phone: 1(877) 215.8104
 Login
LoginSoftaculous is a script auto installer that offers more than 250 applications for easy and quick installation.
The Softaculous team regularly updates all available applications so you and your clients can always install the latest stable version of a particular application or script.
Having a VPS account at FastWebHost allows you to manage Softaculous, modify its settings and decide what applications you allow your customers to install through it. All this is done through WHM.
To start managing your Softaculous auto installer, log in to your WHM and click the Softaculous – Instant Installs link located in the Plugins section in the left menu.
The first page you will see is the Softaculous Home screen – here you can check the latest news from Softaculous, as well as see its current version:

If you want to check the current settings and modify them, click the Settings tab. The General Settings screen will load:
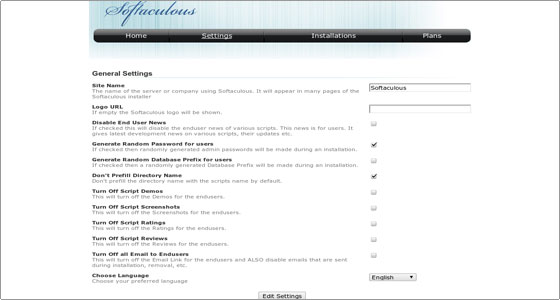
The options are self-explanatory and there is a brief description under each option, so we won’t go into details here.
The next tab – Installations – is also self-explanatory – it allows you to search through, sort and list all installations completed via Softaculous on your server.
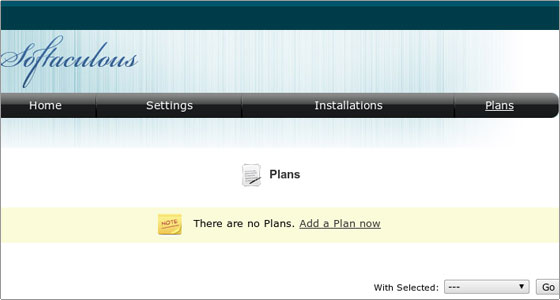
The last tab – Plans – is more interesting and we will take a closer look at it. It allows you to control which applications a given user can install through Softaculous.
By default, there are no plans and users have access to all applications available for installation:
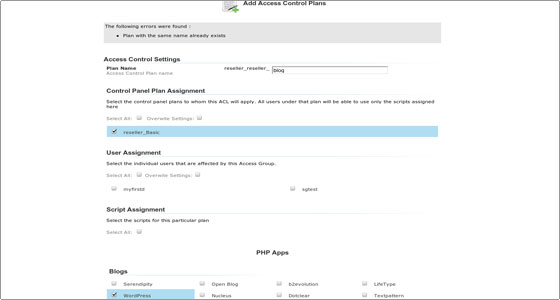
Let’s click Add a Plan now to create a new plan.
The options here are quite intuitive and well-explained. You need to type a name for the plan, select the access control settings for what the plan should apply to (e.g. for a whole hosting package or only for an individual account) and choose the applications that will be available for installation as part of this plan.
To make this simple, in our example we will call the plan blog, assign it to the package we created earlier (Basic) and select only WordPress as an app available for installation:
Scroll down to the bottom of the page and click Save Plan to save the plan.
From now on all accounts using the Basic hosting package will be able to install only WordPress from the Softaculous section of their cPanels.
You will also see the newly-created plan if you click on the Plans section:
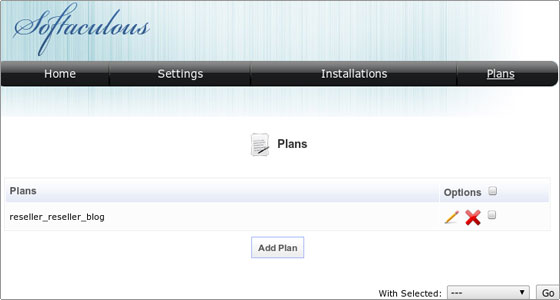
You can delete a plan by clicking the red X next to it, or by checking the box on the right, selecting Delete Plan(s) from the drop-down menu and clicking Go.
The second option is useful if you want to delete several plans at once.
Note that deleting a plan will restore the default access levels, i.e. all accounts that had been assigned to the deleted plan will once again have access to all applications.