Phone: 1(877) 215.8104
 Login
LoginDon’t have an osCommerce site yet?Get osCom installed for free with the eCommerce hosting pack!
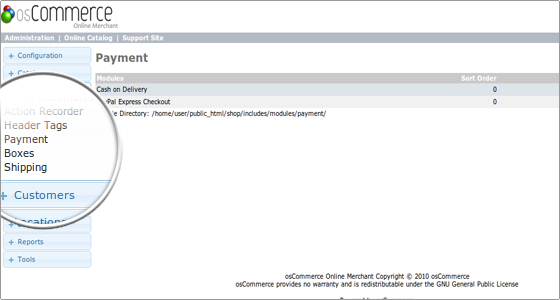
Next step is to set up the payments handling. For this to happen, you will need a merchant account with a payment processor, e.g. PayPal, Authorize.net or 2CheckOut.com. If you already have one, please locate the Payment link under the Modules section in the administrator’s index page of your osCommerce and click on it.
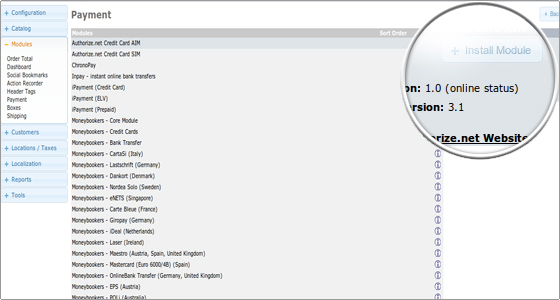
A list of payment options will appear.
To add more payment options click on the Install Module button. Then all the possible options will be shown and you will be able to install the ones for which you have merchant accounts.
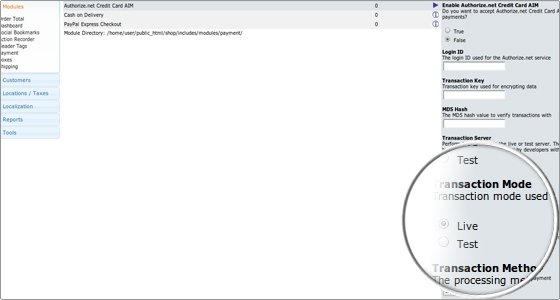
After the installation is completed you can manage the module. In the right column two buttons will appear: Edit and Remove module.
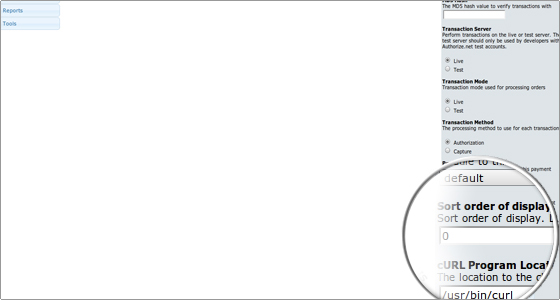
Clicking the Edit button will allow you to insert your merchant account details and enter the other system information.
There are two important choices that have to be made: one is the Transaction Mode and the other one is the Sort order of display.
The Test transaction mode can be used for checking whether the payment links are correct or when your store is offline. It is important to switch to Live mode once your store goes live.
Sort order of display refers to the payment handler preference: the lower the number – the higher the preference for the particular module is, with 0 representing the top choice. When done click on the Save button to keep your setup.