 Phone: 1(877) 215.8104
 Login
LoginAkeeba Backup is a Joomla component that allows you to create and manage complete backups of your Joomla website. Although the component has many functions, in this tutorial we will show you how to use it to create a single backup of your website and store it locally on your hard drive.
Follow these steps to backup Joomla with Akeeba Backup:
- Step 1: Download & Install Akeeba Backup
- Step 2: Create a Joomla Backup with Akeeba
- Step 3: Download the Backup to your Local Computer
STEP 1 : Download & Install Akeeba Backup
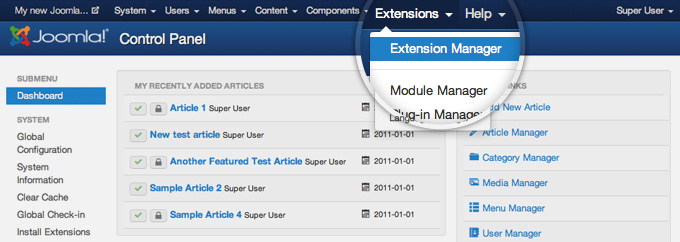
First, you need to download the component from the Official Akeeba Backup website. Then, login to your Joomla 3 admin area and navigate to Extensions -> Extension Manager.
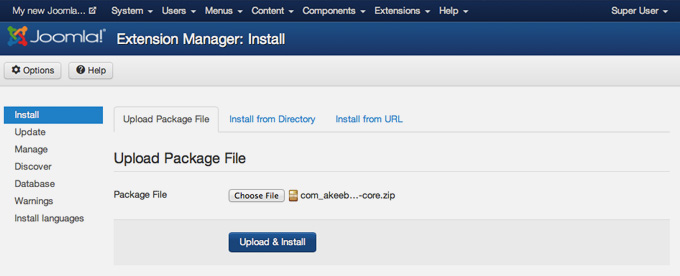
Now, you need to install Akeeba Backup. The installation process is the same as for any other Joomla extension you’ve ever installed – click the Choose File button, select the .zip file you’ve downloaded from the Akeeba’s official website and hit the Upload & Install button.
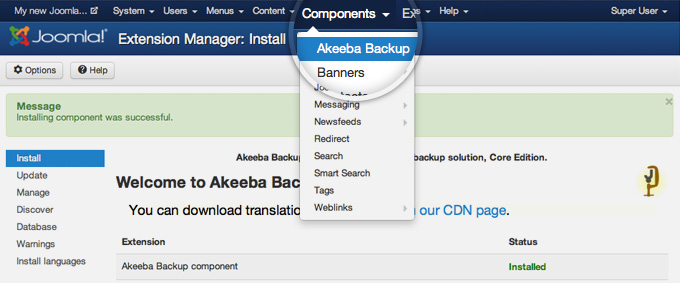
After few moments, the component will be installed on your Joomla 3 site and you will be brought to a page that confirms that the installation was successful. Now, you need to go to the Akeeba page in your Joomla backend. To do this go to Components -> Akeeba Backup.
STEP 2 : Create a Joomla Backup with Akeeba
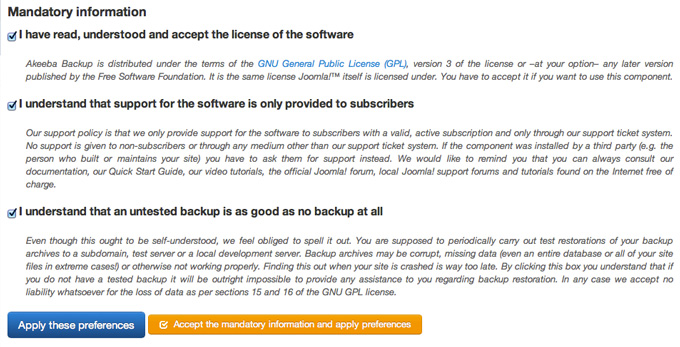
The first time you open this page, you will be required to agree to the component’s terms of use. After you read them, click on the big, orange button Accept the mandatory information and apply preferences.
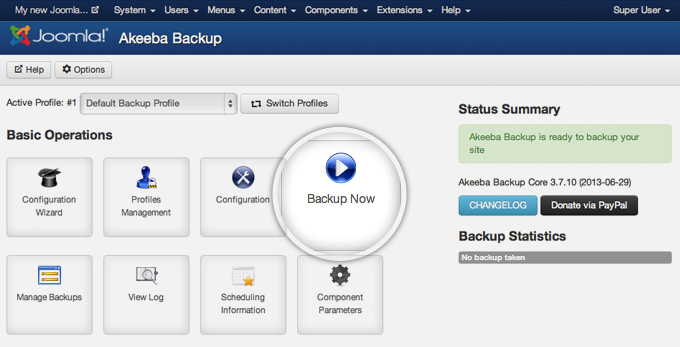
Once you do that, you will see the Akeeba Backup main page. Here, you need to click on the Backup Now button.
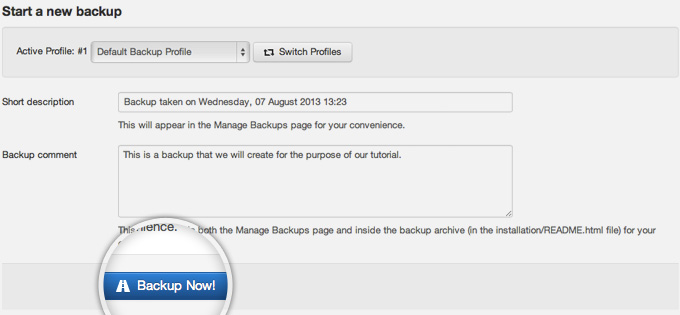
 On this page you will be provided with the ability to write short description and to add a comment for that backup. It is good practice to use the comments field so you can later know why you’ve created this backup. Finally, press the Backup Now! button to begin the backup process.
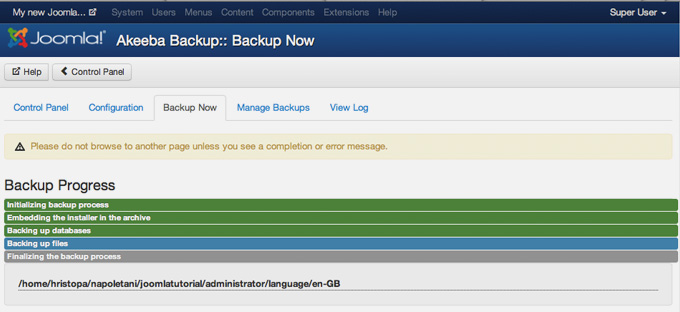
Once you click the button, the backup creation process will begin. You can monitor the backup progress while waiting for its completion.
IMPORTANT! – Do not close this browser window unless the backup is completed. Doing so will interrupt the backup creation process and it will not be completed successfully!
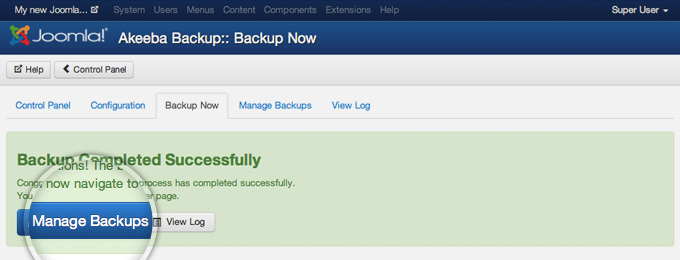
When the Akeeba component is done with the backup creation, the screen will refresh and you’ll be brought to a page showing that the process was successful. On this page, click on the Manage Backups button to proceed.
STEP 3 :Download the Backup to your Local Computer
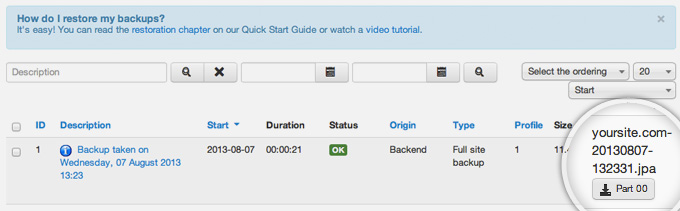
Here you will see a list of all the Joomla backups you’ve created using the Akeeba component. Find the one we’ve just created and click on the download icon on the right side of the page. The download of your archive will begin immediately.
INFORMATION :If you have a big Joomla website Akeeba Backup will split your backup into archive parts. You need to download all the parts for the backup and in case you want to extract it – open the first one with your favourite archiving application.
That’s it! You now have a complete backup of your Joomla website stored on your local hard drive!