 Phone: 1(877) 215.8104
 Login
LoginThe vTiger users can setup an email for their accounts and have their messages checked directly through the vTiger application.
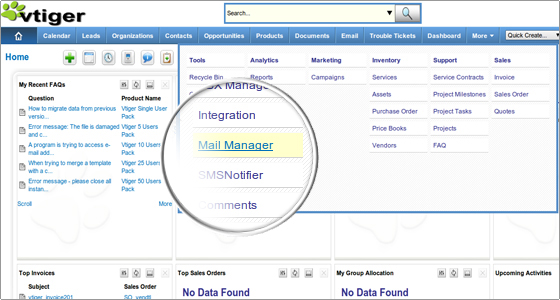
To access the webmail functionality open the vTiger admin area and navigate to More -> Mail Manager.
If the email account is still not setup you should enter the corresponding details. Pick the mail server type from the corresponding drop-down menu.
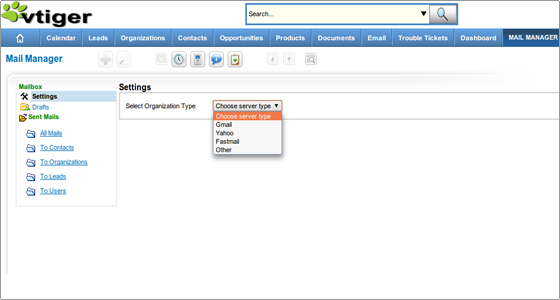
Note also that each user can setup separate email account that will be checked.
Incoming mail server configuration
There are several settings that are mandatory for the vTiger webmail client configuration.
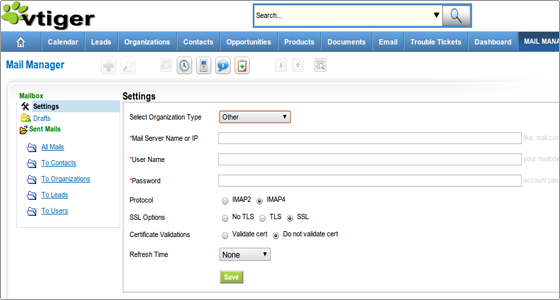
You have to enter all configuration data as described below.
Mail Server Settings
- Mail Server Name or IP – You must enter the address of your mail server. You may use the host/domain name or the IP address. For example: mail.yourdomainname.com
- User Name – You must enter the user name you use to access the mail server. Most commonly this is again your full email address. For example: username@yourdomainname.com
- Password – The password for the email account you want to use.
More details regarding the e-mail settings can be found in the FastWebHost E-mail tutorial.
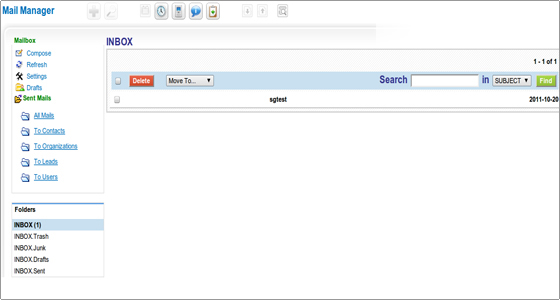
Those are all the necessary settings. All other options can be left as they are or adjusted according to your needs. If the settings were properly entered you can check your email through vTiger.
Outgoing mail server configuration
The Outgoing mail server configuration can be set through the vTiger admin area -> CRM Settings -> Other Settings -> Outgoing Server.
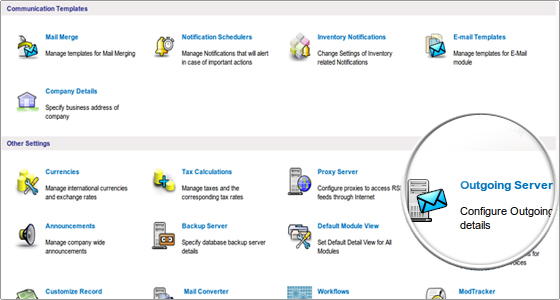
Click on the Edit button.
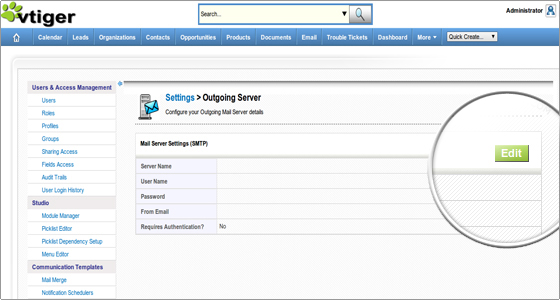
There are just a few options you need to enter here:
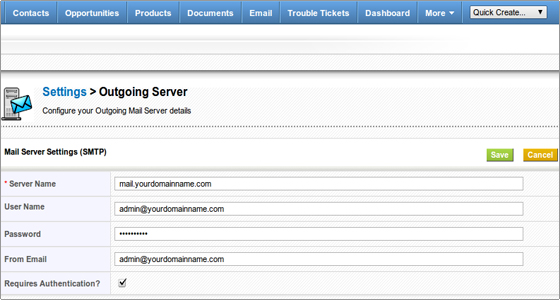
- Server Name – You can use the mail server name or your domain. For example: mail.yourdomainname.com
- User Name – Again you should use the complete email address. For example: username@yourdomainname.com
- Password – make sure that this is the correct password for the email account.
- From Email – You can use the same e-mail address that you have entered in the User Name field.
- Check the Requires Authentication box.
That is all. The vTiger email settings are now successfully configured and you can use vTiger to check your email and send messages.