Phone: 1(877) 215.8104
 Login
LoginGet a FREE Vtiger installation with FastWebHost vTiger hosting Package!
In order to manually install Vtiger on your hosting account, follow the instructions bellow:
Pre-installation Steps
STEP 1 Database setup:
The vTiger installation will need a database. On FastWebHost servers you can create a database and setup a username and a password for it through cPanel -> MySQL Databases. Check our MySQL tutorial, to see how to create a MySQL database and assign a user to it.
STEP 2 Upload Files
After you have created the database upload the Vtiger files to your hosting account. Go to http://www.vtiger.com/crm/open-source-downloads/ and download the latest stable release. Note that you should download the source release.
Extract it on your computer – the archive will uncompress to a folder that contains the files of the installation:
vtigercrm/index.phpvtigercrm/modulesvtigercrm/includes/vtigercrm/schema/vtigercrm/themes/etc.
Start your favorite FTP client (learn more about FTP).
You should have already chosen where Vtiger will be installed on your account. If you want it to be your main website application, you should upload the files and folders of the installation directly inside the public_html/ folder (or www/ – the last is a symlink to public_html/) of your account. In other words, if Vtiger should be visible at http://yourdomainname.com/, the files should be uploaded inside the public_html/ folder.
If you want Vtiger installed in a sub-folder, create one inside public_html and upload all the files there. For example, if Vtiger should be installed at http://www.yourdomainname.com/vtigersite/, create the public_html/vtigersite directory and upload the files under it, which should produce similar paths:
public_html/vtigersite/index.phppublic_html/vtigersite/modules/piblic_html/vtigersite/cron/etc.
vTiger Installation
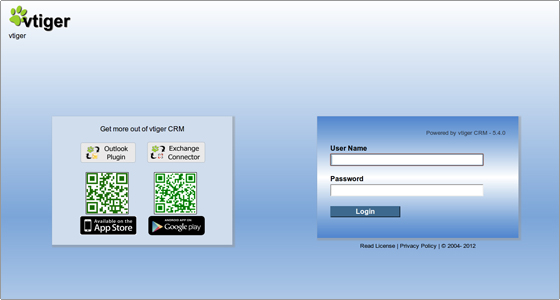
You are ready to proceed with the installation. Point your browser to the URL where you have uploaded the files. The steps of the installation process are very straight forward and you should not experience any troubles following them.
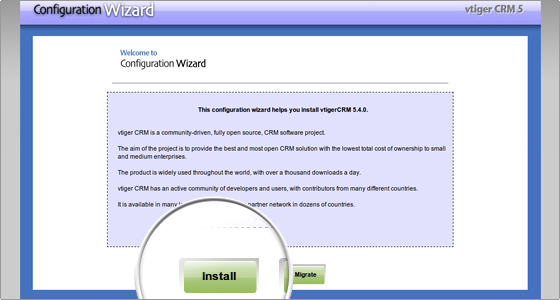
STEP 1 The first page that will load is the configuration wizard info page.
Choose the Install option on this screen.
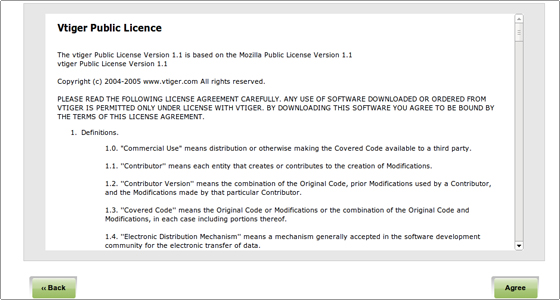
STEP 2 Next you will have to agree with the vTiger license agreement.
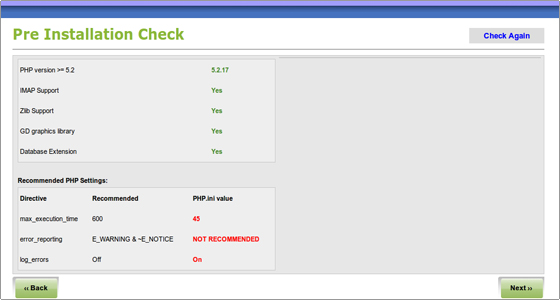
STEP 3 The third page will load the installation check screen.
On this page you might see that several options do not match the recommended values on your hosting server. Currently this is not an issue but in some cases it is best to ensure all requirements and all recommended settings are met.
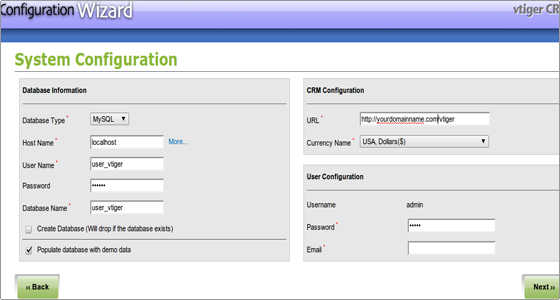
STEP 4 Next page will ask you for the specific configuration of your installation.
Here you should enter the database details, the website URL and the desired administrative login details.
Note, that the name of the database and the username are prefixed with “username_” where username is your cPanel login name.
Do not forget to type in the password of the MySQL user. Remember that it is case-sensitive.
For “Host Name” enter “localhost”;
For site configuration you should leave the information as it is. The installer tool will automatically determine the URL where your vTiger will be accessible.
Finally make sure you choose a secure password for the admin user.
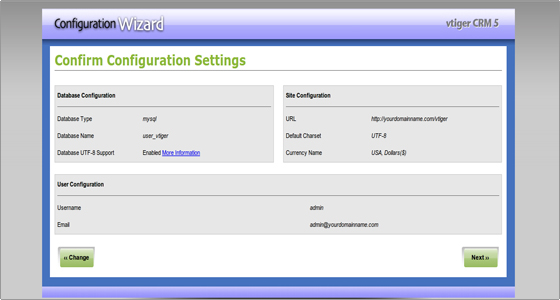
STEP 5 Here you should confirm the configuration settings..
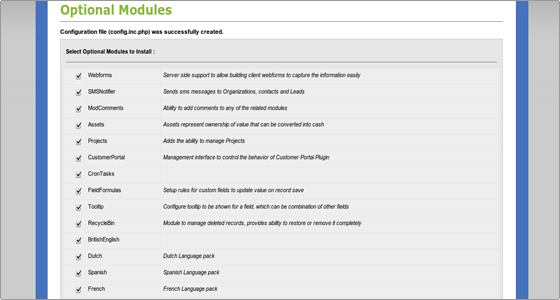
STEP 6 On this page you should select the desired optional modules that you would like to be installed.
It is recommended to have all optional installations added. It will not cause any troubles with the installation itself but you might need the additional functionality in the future.
STEP 7 Once you are ready entering the details in the previous step you can click Next.
The next page will simply ask you to confirm the details you have entered once again. To complete the installation click on the Finish button.
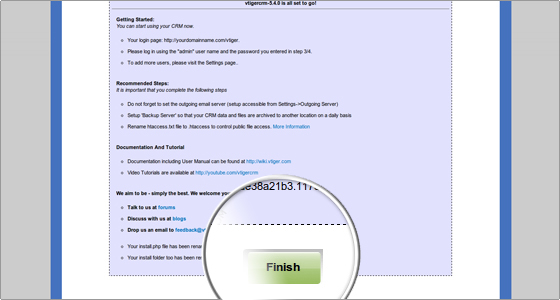
That is all. Just leave the installation to be successfully finalized and you are ready to start using your newly installed vTiger CRM.