 Phone: 1(877) 215.8104
 Login
LoginIn order to access your WHM, you need to add /whm after your domain name (provided the domain is pointed to your Server with us). So, for example, if your site is domain.com, you will be able to access your WHM interface by visiting http://domain.com/whm.
If your domain is not yet pointed to your server, don’t worry, you will still be able to access your WHM by typing the server name and then again adding /whm after it. For example, if you are hosted on svr222.fastwebhost.com, you will be able to access your WHM at any time by visiting http://svr222.fastwebhost.com/whm.
Note that no matter which of the two ways for accessing WHM you use, you will receive a warning that the SSL certificate used for the secure connection cannot be trusted as it is not signed by a known Certificate Authority (CA).
You needn’t worry about this warning – the connection is still secure and you can safely accept/trust the certificate. The reason for the warning is that cPanel uses a shared SSL which is self-signed. Once again, this is not a problem and you can safely accept the certificate and proceed to the login page.
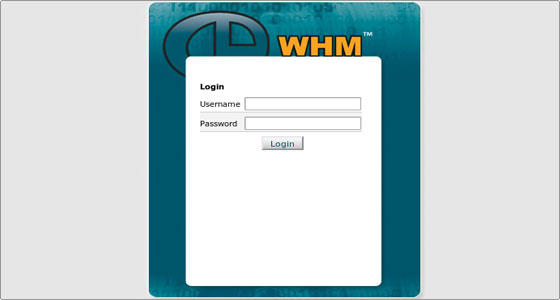
When you accept the certificate, a login window will pop up asking you for a username and password. The username is your cPanel username and the password is your cPanel password. If you refuse to enter the login credentials now and click Cancel, you will see the default WHM login page:
Once you log in, you will see the WHM Home/Main page:
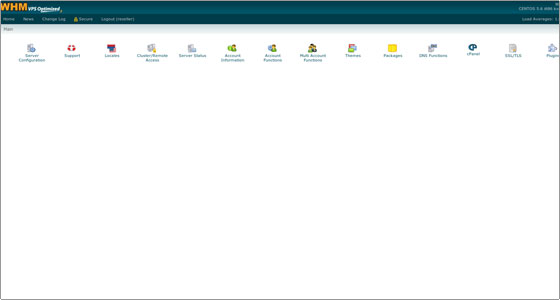
In the left column are all the options you have for managing your hosting service. They are divided into several sections and there is a Find option for quickly finding the option you need.
The names of the sections are pretty much self-explanatory and we will cover the most important ones in our tutorials. The sections you will probably visit the most are Packages and Account Functions. This is where you can create, edit and remove hosting packages and accounts. We will cover these in more details next, so read on.