 Phone: 1(877) 215.8104
 Login
LoginIn order to install Coppermine manually you will have to download the application files. You can download Coppermine from here.
![]()
Once you have downloaded the zip file to your local hard drive go to your cPanel -> FileManager and upload the file to your public_html folder. After you have finished uploading the file, extract it using FileManager. You should end up with a folder called cpg15x (where x is a number specifying the script version). You can rename the folder according your personal preference. For example you can set the folder name to “gallery”. In this way your Coppermine gallery will be accessible through http://yourdomainname.com/gallery.
Next you need to create a database for your Coppermine Gallery and add a user to it. Click here to learn how to create a MySQL database.
Once you are ready with the database, you can proceed to the Coppermine web installer and enter the corresponding details. You can access it at http://yourdomainname.com (assuming you have decided to install the script in the main directory for the web site content, otherwise add the gallery folder name in the above URL).
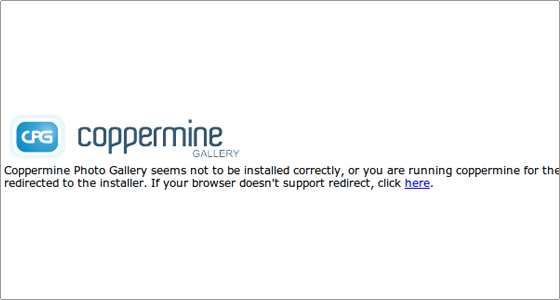
You will be redirected to the Coppermine installation page. If your web browser does not support redirects you should click on the here link.
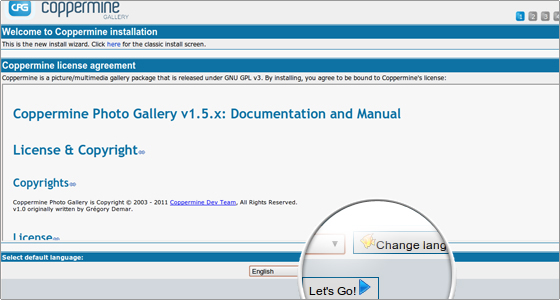
Read the license agreement, pick the preferred language and click on the Let’s Go button to start the installation.
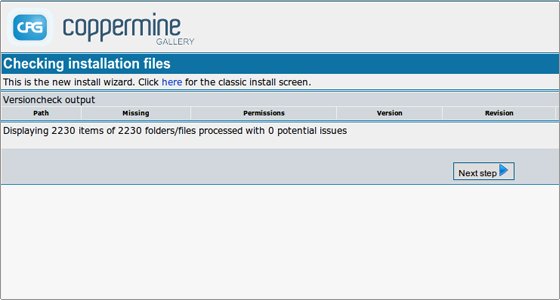
The system will check installation files. To proceed click on Next step.

The directory permissions will be verified. Again, click on Next step.
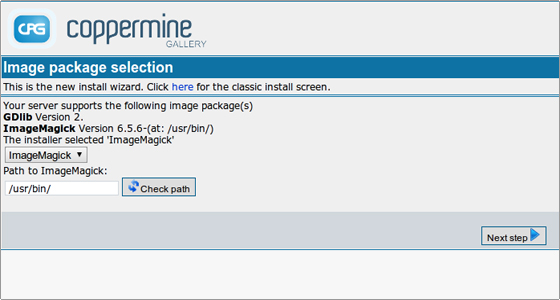
Select the images handler package from the corresponding drop-down menu and proceed to the Next step.
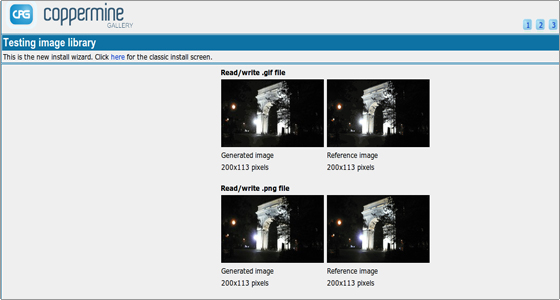
The chosen image library will be tested. Again, proceed with the next step of the installation procedure.
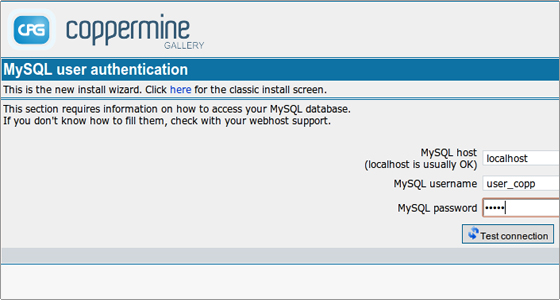
Enter the database details that you have previously set in cPanel- > MySQL databases. Test the connection.
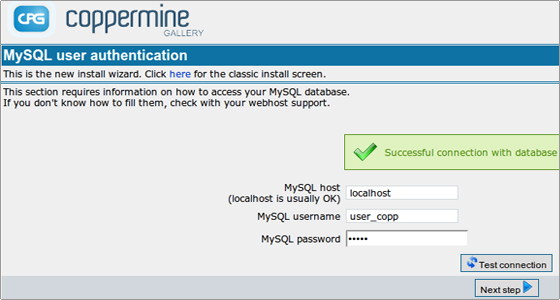
The successful database connection will be confirmed. If some of the database connection details are wrong, enter the correct ones and test it again. Then go to the next stage.
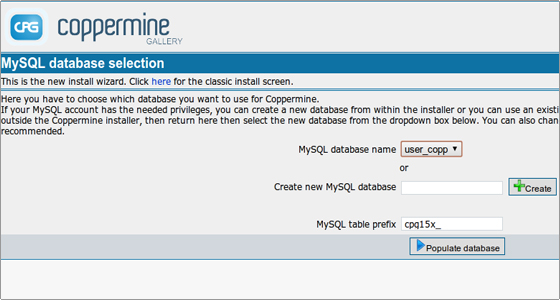
Select your MySQL database that should be used with the Coppermine script and click on the Populate database button.
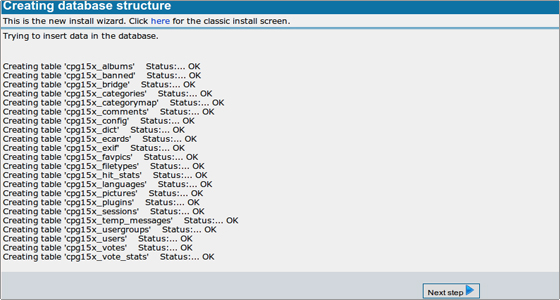
The database tables will be created. Once the procedure is completed click on Next step to continue.
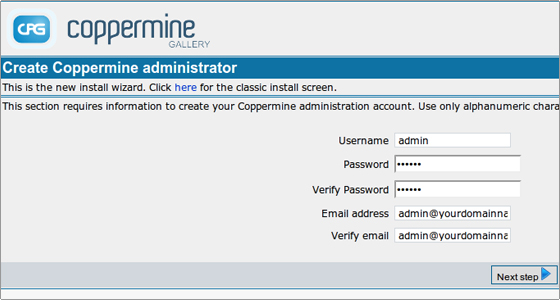
On this stage the Coppermine administrator account should be created. Then proceed in the same way as explained above.
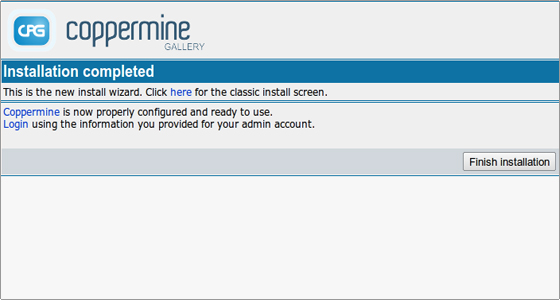
The installation is completed. Click on the Finish Installation button which will load the Coppermine front page.