 Phone: 1(877) 215.8104
 Login
LoginBefore we start the installation you should check if the server that hosts your account meets all the eZ Publish system requirements. FastWebHost provides you with the best server solution for hosting eZ Publish based website. However, note that eZ Publish versions prior to version 4 do not work with PHP 5, while releases version 4.0 and above can work only using PHP 5.1 or newer.
You can check our article for more information how to change PHP versions for your account.
Additionally ezPublish version 4 and above require the date.timezone option to be defined in php.ini instead of using the server timezone. This can be accomplished following How to change the date / timezone value article.
Finally making changes in the local php.ini file might affect your web site functionality if you are using Ioncube loader for it. You can check the How to change the value of a PHP setting article for more information how to enable it.
Once this is done you can proceed with the installation.
STEP 1MySQL database set: In this tutorial we will use the web base installer that eZ Publish provide.
But before we run it, you will need to create a MySQL database and user for your application. Please, check our MySQL tutorial, to see how to create MySQL database and user and how to link them together.
One final database step has to be done. The Ez Publish installation requires the database to be created using character set utf-8, but the cPanel creates them using iso-8859-1. You have to change this manually by using the phpMyAdmin tool in your cPanel. You can find it on bottom of the MySQL Databases page in your cPanel. Click on the phpMyAdmin blue link.
The tool will load in a new page. Choose the eZ Publish database from the list menu on the right side of the page. Then click on the Operations tab on the main phpMyAdmin page. At the bottom you will see the Collation category. Use the list menu and select utf8_general_ci option. Click the Go button. If no errors appear, you have successfully changed the database character set to utf-8 and you can now proceed with the installation.
STEP 2Web based installation:
First you have to download the ez Publish package form the ez Publish official website. Download the latest stable version tarbal:
ezpublish-*.*.*-gpl.tar.gz,
then extract it on your machine and upload all files to your account. The best way to upload them is via an FTP client software.
Now you probably ask yourself where exactly to upload the files. If you wish the website to be visible at:
http://yourdomain.com
the files should be uploaded to the documents root folder – public_html. In this folder reside all the files visible on the net from your domain.
Note that files outside the public_html folder can not be accessed via the domain.
If you already have a working website there, you have to upload the files to a subfolder.
For instance – public_html/ez/, so the website will be visible at:
http://yourdomain.com/ez/
At this point if you are performing an ezPublish version 4 or above installation follow the instructions for setting the date.timezone option.
Now that you have uploaded the files, you have to start the web based eZ Publish installer, which is quite friendly and easy to use. In order to do so, please open your browser and write down the following URL:
http://yourdomain.com/path_to_the_ez_folder/
You will see the Welcome page of the Ez Publish installation:
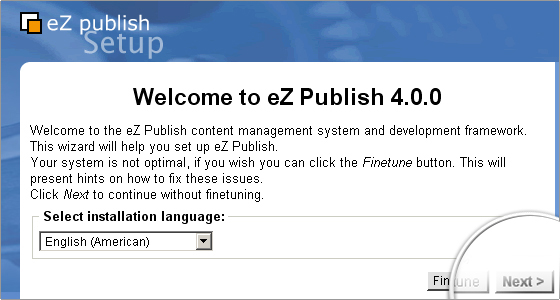
Click on Next.
On the next step you have to choose which email sending method to use – the Sendmail to send the email directly through the MTA on the server or to use the SMTP email outgoing server:
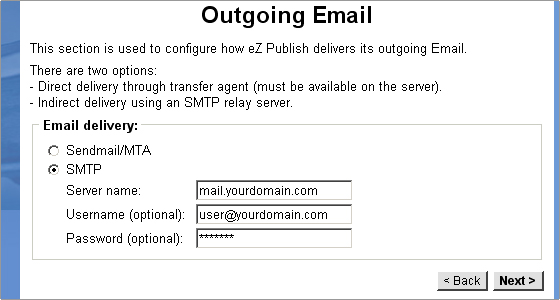
Both work flawlessly. However, if you choose to use the SMTP server, you will have to fill the fields required for the SMTP authentication. First you have to create a valid email account through your cPanel. Once you do this, type its details in the fields on the installation page. Note that the server name has to be your full domain name and the username has to be the full email account name (for example – ez@yourdomain.com).
In this tutorial we are going to choose Sendmail for our outgoing emails. Click on Next.
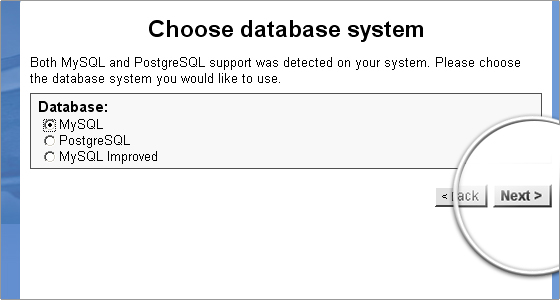
Now you have to choose what type of database your website should use.
You can select each of the MySQL or MySQL Improved radio buttons and click on Next:
On the next page you have to write down the database details. Server name should remain localhost. In the username and password fields type the user details associated to the database that will be used for the eZ Publish page. The default database port is 3306.
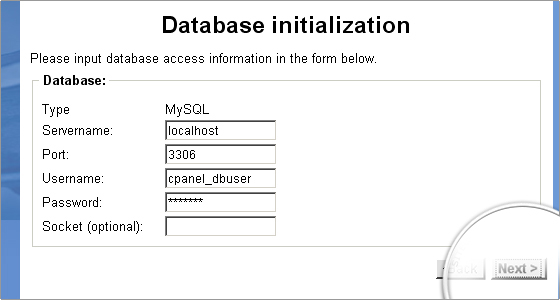
Leave the socket field empty and once you are ready click on Next.
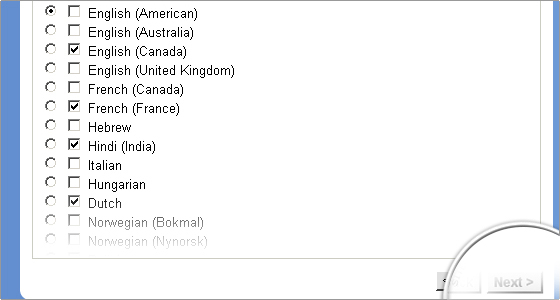
Follows the language setup page. Please use the radio buttons to choose the default language for your website and select the check box for each additional language you wish to add to the site. Leave the Enable Unicode setup check box selected. Click on Next.
On the next page you can choose one of the pre-configured site types the installation comes with.
You can select one of these or choose the plain site if you want to start from scratch. Once you a ready with your choice, click on Next and wait for the installation to download the needed dependencies and install them. Once this is done, you will preview the page as shown on the image below:
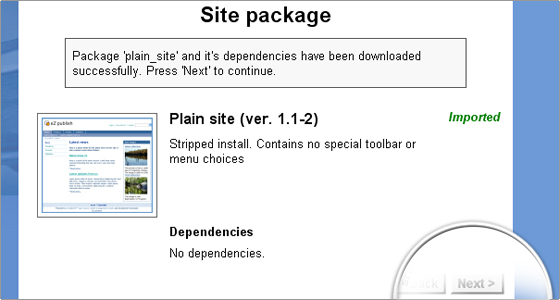
Click on Next to continue the installation.
Next step is to choose an access method to your website. We recommend you to choose URL:
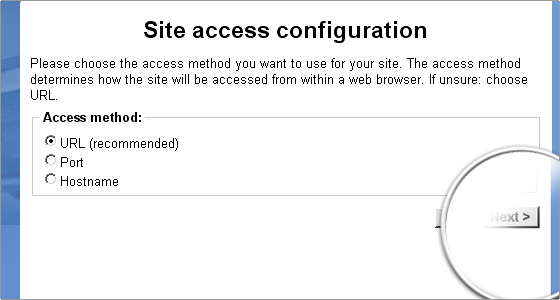
When you are done click on Next.
Next page allows you to modify the site information and to choose it database. Choose the database from the list menu on the bottom and leave the site information as it is.
Later you can change this information in the eZ Publish administration:
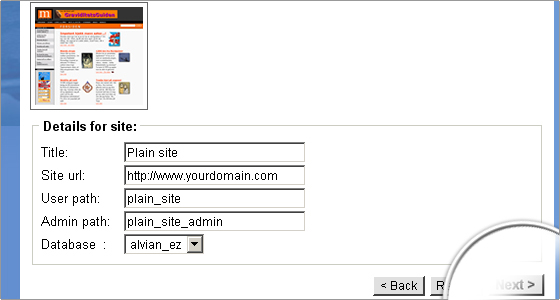
When you are ready click on Next. If you have closely followed the MySQL database set steps, no error will appear.
On the next step you have to set the ez publish administrator details:
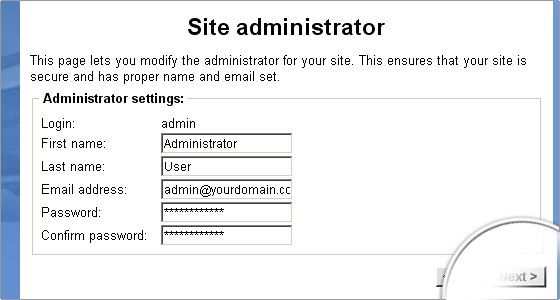
Enter the desired details and click Next.
At this point you will be requested to rename the .htaccess_root file for your installation to .htaccess. Depending on your account configuration this step might be skipped.
Please bear in mind that if you use the EZ Publish default .htaccess file you will need to remove the following line:
php_value allow_call_time_pass_reference 0
It is a PHP setting already defined in the global server configuration and cannot be re-declared using .htaccess
Next is the last page before the eZ Publish database get published and your system configured.
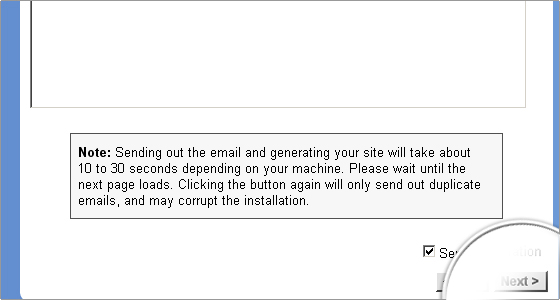
Select the Send registration check box on the bottom of the page, if you wish to send your set-up details to eZ System. Once you decide either to send or not this details you can click next.
Your eZ Publish website should be successfully set up now.