 Phone: 1(877) 215.8104
 Login
LoginAlthough MediaWiki is included in the Softaculous autoinstaller, you may want to have it installed manually. This is why we have created this step-by-step tutorial.
Pre-installation Steps
STEP 1 Database Setup
You can check our MySQL tutorial to see how to create a MySQL database and user.
STEP 2 Upload Files
Once you have downloaded the release you want (MediaWiki can be downloaded from here), you can upload it to your account using the File Manager tool or an FTP client.
MediaWiki Installation
Now you should open the folder where you extracted the files with your favorite browser. If you have extracted the files in a folder called ‘wiki’, then you should go to: www.yourdomain.com/wiki .There you will be asked to set up your MediaWiki.
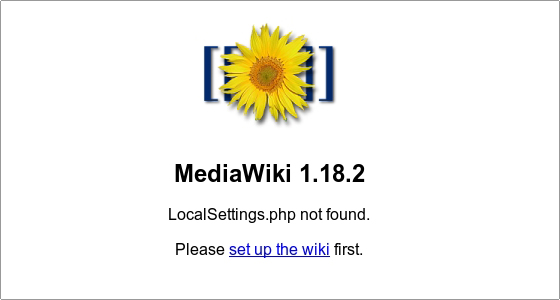
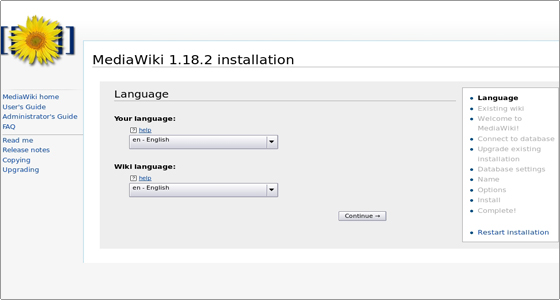
When you click on the set up the wiki link, you will be taken to the installation page. First you will have to select a language to use for the MediaWiki installation and for the wiki itself:
Click Continue to proceed to the next page. Here some environmental checks will be done. MediaWiki can be installed without any problems on all FastWebHost servers. You may see some warnings, but since they will not affect the installation, you can disregard them.
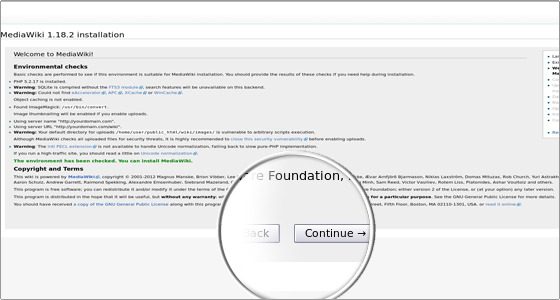
Click Continue to go to the next step of the installation process. On this page you will have to configure the database settings.
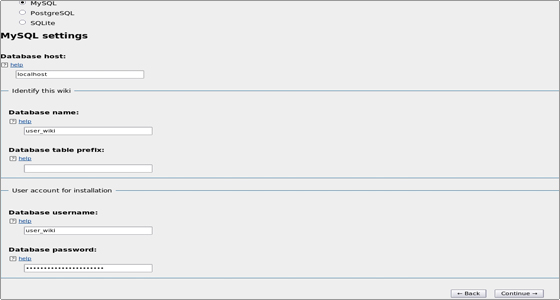
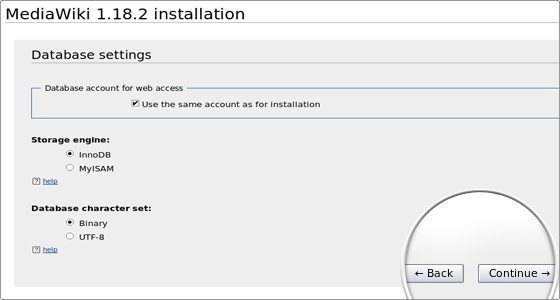
Select MySQL for “Database type” (PostgreSQL and SQLite are also supported, but MySQL is recommended as it is best supported). Type localhost for Database host and enter the name of the database you created earlier, as well as the username and password associated with it in their respective fields. When ready, click Continue.On the next page you can choose the database storage engine and database character set for your MediaWiki. You can also set the database account for web access. Leaving the default settings here is recommended:
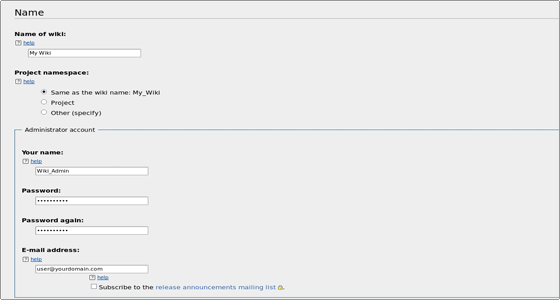
To proceed, click Continue. On the page that follows you should type the name of your wiki, your admin username, password and e-mail address. You can also choose whether you want to configure more settings (“Ask me more questions.” option) or finalize the installation (“I’m bored already, just install the wiki.” option).
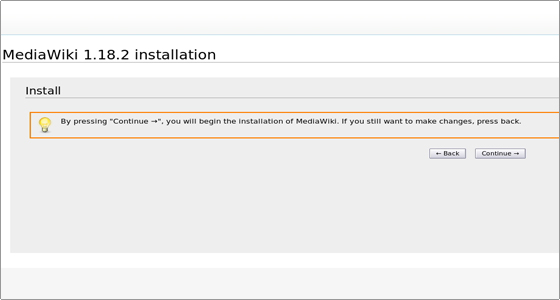
Let’s finalize the installation and click Continue. If you want to go back and make some changes, you should do it now:
Otherwise, click Continue to proceed. You will see the installation process steps completed:
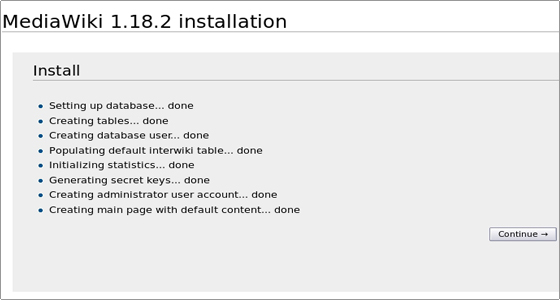
The installation will be completed and the LocalSettings.php file which contains the configuration will be offered for download.
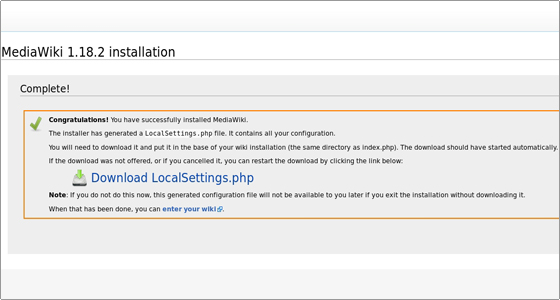
Download the file and upload it to the MediaWiki installation folder. Then you will be able to access your newly-installed MediaWiki.