 Phone: 1(877) 215.8104
 Login
LoginThe purpose of this tutorial is to show you how to install a PrestaShop e-commerce platform on your site via the Softaculous auto installer. One of the great things about Softaculous is that it allows you to setup applications really fast. You don’t need to go through all steps manually and with just several clicks you will have a fully functional PrestaShop on your account.
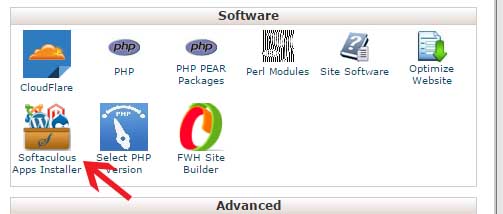
First, you need to access your cPanel account and find the Softaculous icon which is under the “Software/Services” section.
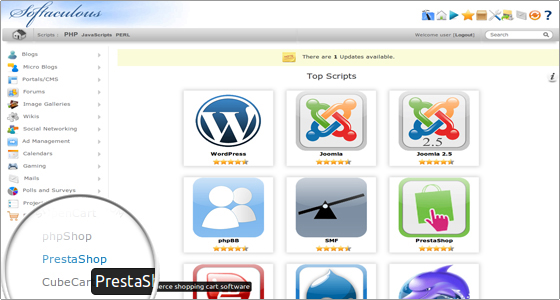
The next step is to click on the Softaculous icon. You will be redirected to a new page which is the auto installer’s control panel. From here you can install new apps, create backups, import existing websites, etc. On the left side of the screen is the categories menu. To proceed with the PrestaShop installation find the E-Commerce section and click on it to expand . You will see a list of applications that you can install. Find the PrestaShop link and click on it, so that Softaculous will open the installation screen.
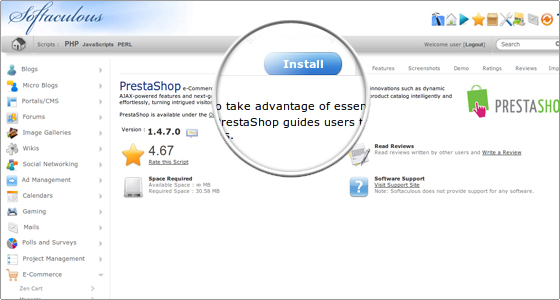
The newly loaded page provides a brief description of the PrestaShop application and its features. You can also read a review about the platform and rate it. Click on the blue “Install” button:
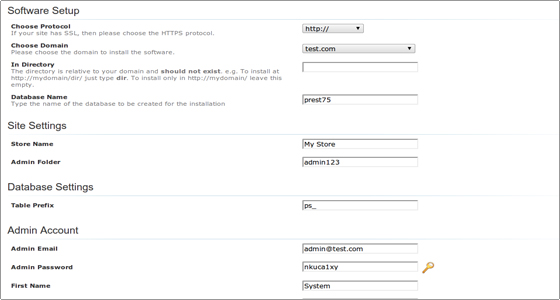
This is the most important step at which you need to provide more details about the new PrestaShop website. Some of the fields are automatically filled by Softaculous for your convenience. However, we strongly advise you to review the values of the following crucial configuration parameters:
- In Directory: Please note that by default Softaculous will install the PrestaShop application in the root web folder and you will be able to access the website via your domain name. If you prefer to install it in a subfolder, for example “shop”, enter its name in the “In Directory” field.
- Site Name: This is the name of your website and by default it is set to “My Store”. You can change it to something that better describes the main purpose of your new website.
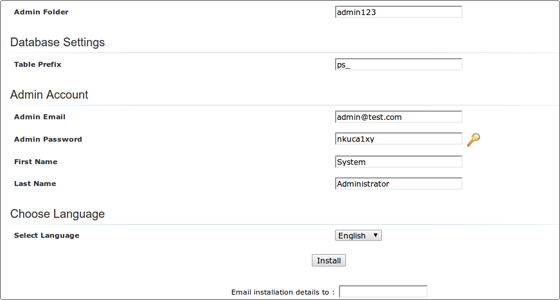
- Admin Folder: You can change it to a random string. Adding it to the web site’s URL will load the admin section.
- Admin Email: By default this field is set to “admin@yourdomainname.com”, where instead of yourdomainname.com your actual domain is entered. If you want you can change it to a different e-mail account.
- Admin Password: Softaculous automatically generates a unique password for your new website. Still, you can change the string in the field and type a new password which you can remember more easily.
The last step is to scroll down to the end of the page and click on the “Install” button.
That’s it! Your PrestaShop application is installed and ready to use. The installer will redirect you to a new page where you will see the details for the completed installation. You can now login and create your PrestaShop website.