Phone: 1(877) 215.8104
 Login
LoginCreating pages
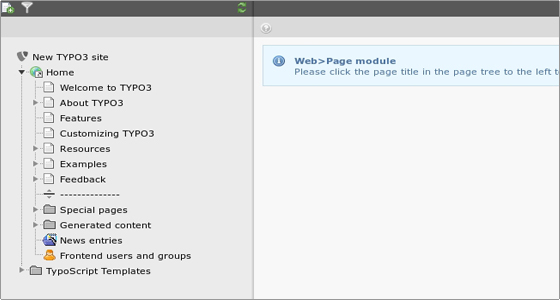
Since we installed the Introduction Package, we already have some pages available in the page tree. We have a root page called “Home” and several subpages under it:
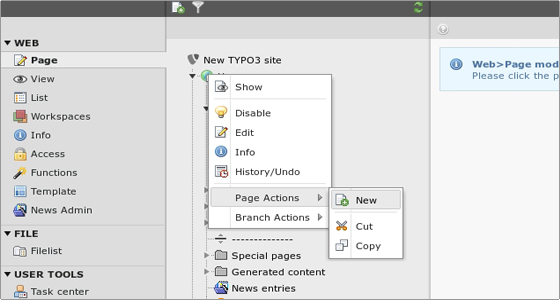
Now let’s create a new page. Click on the Page module on the left, then on the little icon next to the Home root page title > Page Actions > New.
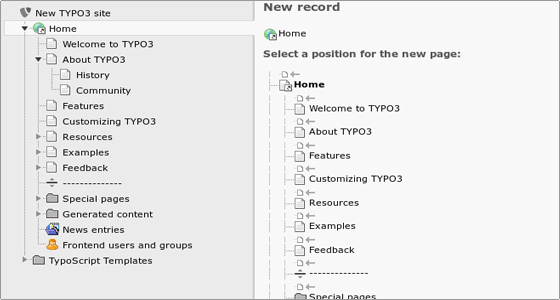
Next you need to select a position for the new page:
Then you will have to fill in the page details which are separated in 6 tabs:

Above each option you can hover with the mouse and you will see a short explanation of what the option is for. Only the Page Title field is required, the others are optional.
Once you set all page options, save the page by clicking the Save document button above the page settings (looks like a floppy disk).
Creating content
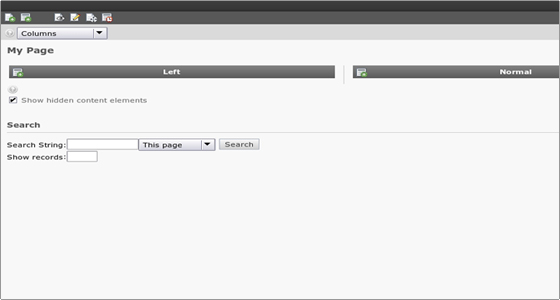
To add content to a page you should click on its name to open the page content module in the right frame. You will see the page elements where you can add content:
To create a new content record for the element, click the little icon with the plus located to the left of the content element name. You will see the “New content element” menu with the content element types:
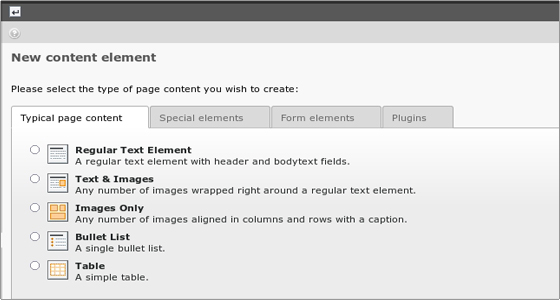
There are several page content element types available and combining them is the key to creating diverse web pages. The most used elements are the “Regular Text Element” and “Text & Images”.
Let’s select “Regular Text Element” – a new page will load and you be asked to fill in the details for the new text page you want to create. You can use the rich text editor to easily add your content:
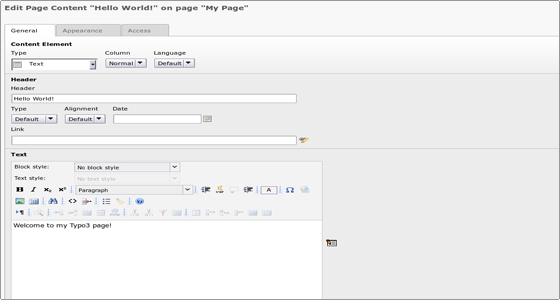
You can hover with the mouse over the different options to learn more about each one. When you are ready, save the document.
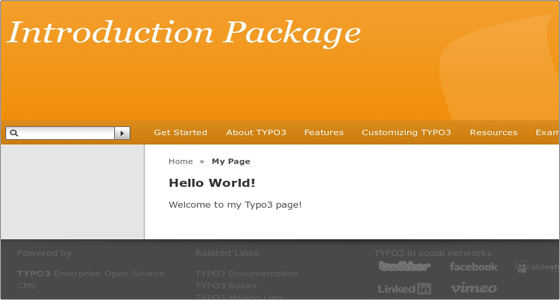
Your page is saved now and you can see it on your site’s frontend: