 Phone: 1(877) 215.8104
 Login
LoginIn this tutorial we will show you how to manage the content of your photo blog with PixelPost.
How to make a new photo post
To post in your Pixelpost photo blog, first you need to log in the administrative end of the application. For example, if you have installed Pixelpost into the public_html/photos folder in your account, the admin end would be accessible via http://yourdomainname.com/photos/admin/
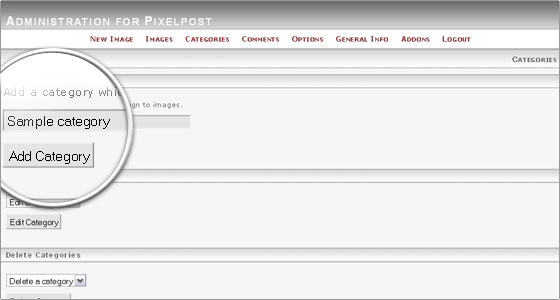
How to group your posts in categories
To organize your photo posts better, you can group them into categories. To do this, go to theCategories menu in your administration panel. You can think of categories as “folders” for your posts. They don’t have any options that have to be set except for their name.
To create a new category, enter the name for it and press the Add Category button.
From now on, when you make new photo posts, you will be able to select the newly created category for them.