 Phone: 1(877) 215.8104
 Login
LoginIn this section we will describe how to manage the general settings for an Elgg account and perform basic modifications.
Now that you have enabled more modules you will also see much more tools available in the tools menu. Furthermore you will have additional widgets that your community members can add to their pages on the web site further extending the pages variations and functionality.
SETTINGS SECTION
Lets first explore the Settings menu. When you click on Settings in the main tab of Elgg a new page will load where you will have the following options.
Change your settings. By default this will allow the user to change his name, email address, password and the language for the website (in case additional language packs are installed).
Configure your tools. This panel allows the member to personalize the settings for the tools installed by the system administrator.
Account statistics will show various statistics for the account that is currently logged in.
Notifications will allow the member to adjust the way he is notified when actions are performed on his content. Also it gives to possibility to enable notifications to be sent when changes are performed on members from your friends collections. Finally in order to receive notifications from your friends when they create new content, find them in the “Notifications per user” area and select the notification method you would like to use.
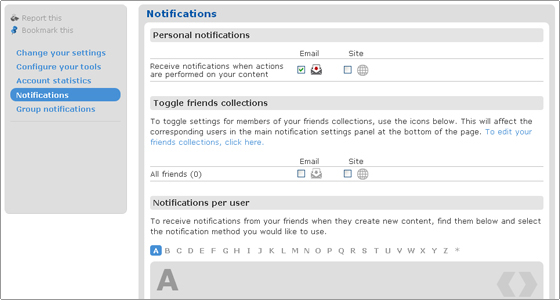
The Group notifications work in a similar way. All you need to do is select the group you are member of and than choose the type of notification you would like to receive.
TOOLS SECTION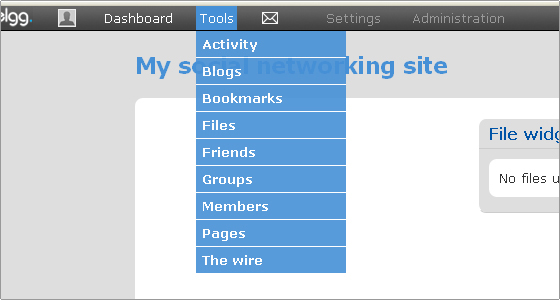
The Tools section will vary depending on the tools enabled via the administration area. Generally this is where you add/invite friends to the community, upload files and manage groups but the exact functionality available there will vary depending on the installed plugins. By default all tools are really easy to use and quite self explanatory. While they provide you with the needed functionality there is nothing too complicated to deal with.
DASHBOARD SECTION
The dashboard is basically your gateway to the website. Users can add all the widgets that are installed by the site administrator to the various areas of their dashboard as shown on the example below. This will enable any user to have fast access to the desired functionality of the website.
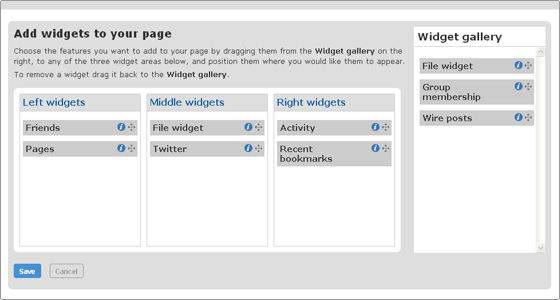
It is not hard to handle the setup via the Dashboard. All you should do is drag and drop the desired widged to the corresponding are on the page. When the page itself is loaded after that the various information will be withdrawn by the published widgets and displayed on the webpage.
PROFILE SECTION
Clicking on the photo like image in the main toolbar will load your personal page in the community website. You can again drag and drop the chosen widget to the desired area of the web site. After the personal page is saved the published widgets will withdraw the available information and display it on your page as you have set them.
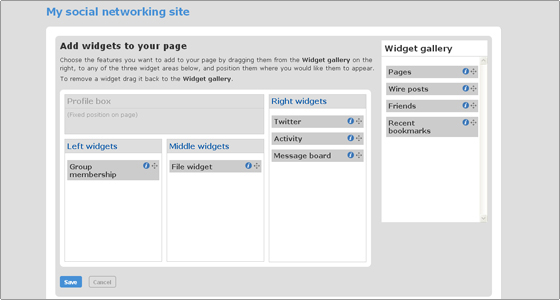
It is a bit different from the dashboard. This page will alter the way your profile page looks like. It has a predefined position for your profile box where profile icon, wire posts and about information are displayed. This defines the way your profile page looks when you or anyone else visits it.