 Phone: 1(877) 215.8104
 Login
LoginAll you have to do to add a static page to your website is install the “Static page” gadget and add it to your layout.
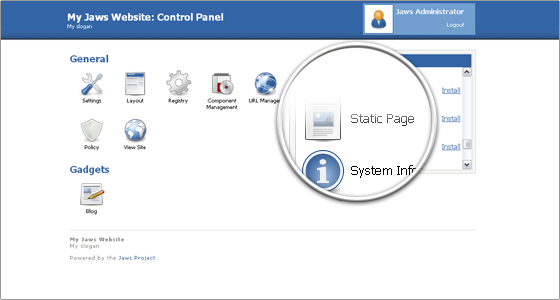
You should begin by logging into your administrative area. Next, select the “Static Page” gadget from the list of uninstalled gadgets and click on the “Install” link next to it. Note that you will have to do this only once. After the gadget is installed, you can use it to create as many static pages as you want.
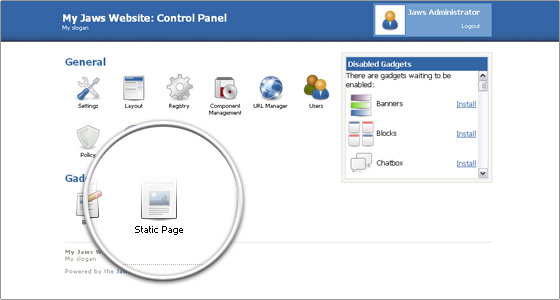
A new “Static Page” button will appear at the bottom of your page. Click on it in order to begin the creation of your static page.
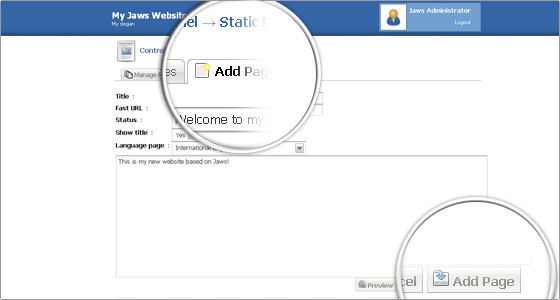
Select the “Add Page” tab and enter the title and content of your static page. Once you are done with the creation of your content, click on the “Add Page” button at the bottom right part of the page.
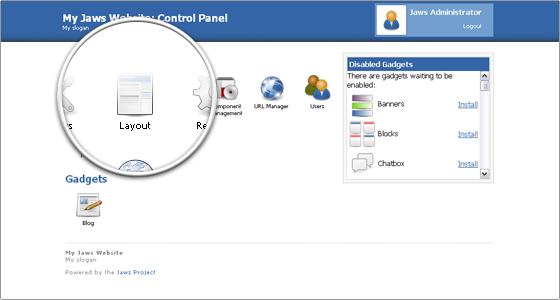
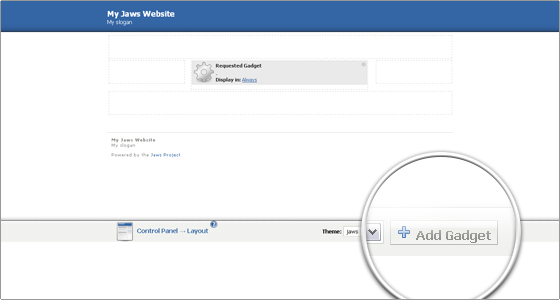
Now you have to add your static page to the layout of your website. Go back to the main administrative page and click on the “Layout” button.
In the layout page click on the “Add Gadget” button at the bottom-right part of the screen.
Now select “Static Page” from the list of available gadgets and click on the “Add Gadget” button.

All you have to do next is drag the “Static Page” gadget to the desired position. For the purpose of this tutorial we will place it right above the “Blog” gadget.
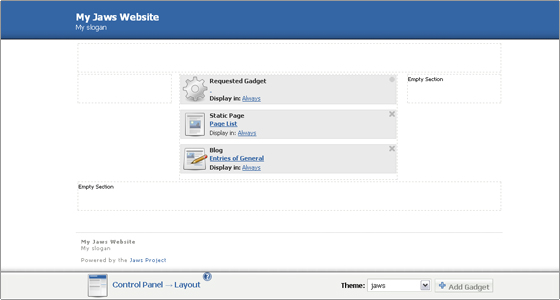
The new static page is now added to your website! You can now go to your Jaws front page to see the newly-added content.