 Phone: 1(877) 215.8104
 Login
LoginAdding and managing Chunks
Chunks are useful for using HTML or blocks of code to your sites multiple times. Chunks cannot contain any logic directly but they can contain calls to Snippets that do contain logic.
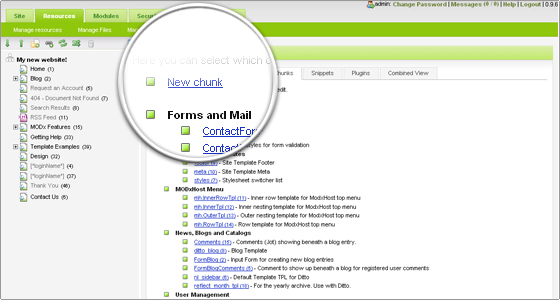
To add a new Chunk in your MODx website, go to Resources -> Manage Resources page and select the Chunks tab. Now click on the New chunk link.
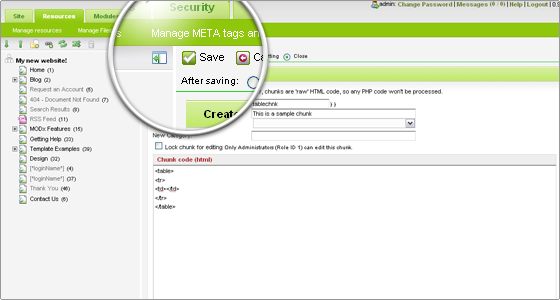
On the next page enter the name for your new Chunk in the “Chunk name” field. You can enter a short description that will remind you what does this piece of code do.
Finally, you should enter the actual Chunk code. Once ready, click on the Save button to save the changes and to enable the Chunk.
Adding and managing Snippets
Snippets are useful for adding new functionality to your website. You can use them to create menus, determine which users are logged in, or any other thing possible with the MODx API. Once you have installed the Snippet, you can use it within your documents using this format – [[Snippet Name]].
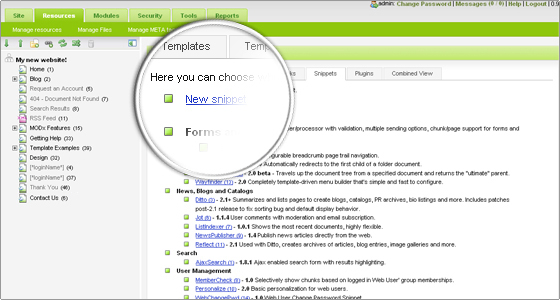
To install a new Snippet in your MODx site, simply go to Resources -> Manage Resources page and select the Snippets tab. Now click on the New snippet link.
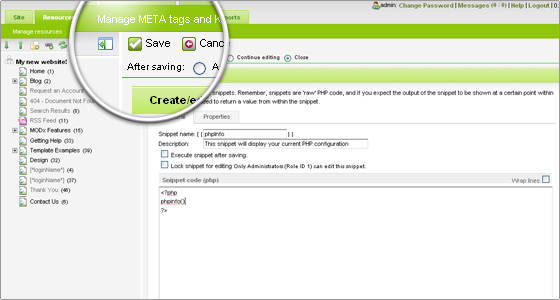
Now you have to enter the Snippet name and a short description for it. Next you have to enter the actual PHP code that the snippet will execute. Once you type your PHP code, click on the Save button to save and activate the Snippet.
Adding and managing Plugins
Plugins are pieces of code that have access to the MODx API. They are associated with specific system events. For example, when a MODx page is loaded, several events happen at certain points within the page parsing process. Plugins can be attached to these events to do a specific task. Plugins aren’t limited to the front-end of your website. You can use them to add functionality to your MODx Manager too.
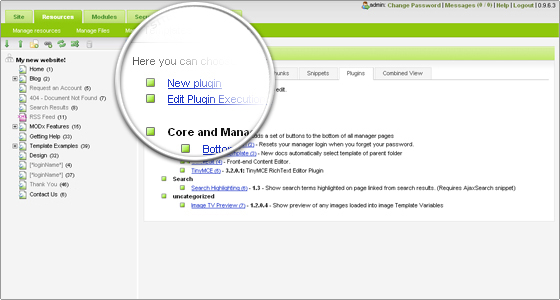
To add a new plugin, log in to your MODx Manager and go to Resources -> Manage Resources page and select the Plugins tab. Next click on the New plugin link.
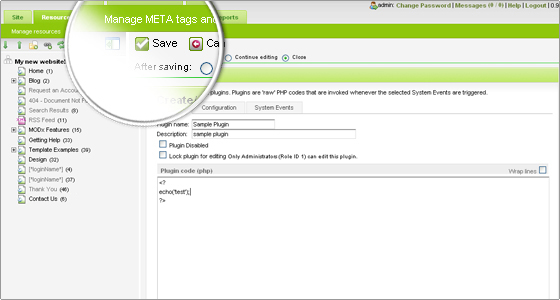
On this page you have to type a name for the plugin and the actual PHP code for it.
Once done, click the Save button at the top of the page.
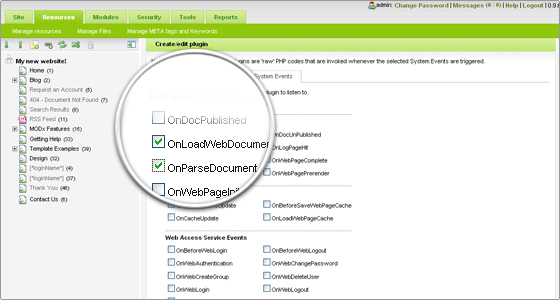
Finally, you should specify the events that you would like this plugin to listen to. To do this, click on the System events tab and mark the checkboxes next to the events you want. Once ready, click the Save button at the bottom of the plugin page to save and activate it.
Adding and managing Modules
To add a new module in MODx first go to the Modules -> Manage modules page. Then click on the New Module link. Next you have to set the title and description of your module and its code. You can do this from the General tab on this page.
From this page you can change several other options – to enable/disable the module or to set it to be accessible from the site administrator only.
Note that different modules may require from you to do additional tasks like upload files to your account, create folders or even add tables to your database. Since this process is specific for each different module, you should follow the instructions in the documentation that comes with the module you want to install.
How to enable the Search Engines Friendly (SEF) links for your website
Enabling the Search Engines Friendly links for your website is quite easy. All you have to do is to go to the Tools -> Configuration -> Friendly URLs page. On it, change the value of the Use friendly URLs option to Yes.
Once you enable the SEF links you will be able to change several options for them:
- Prefix for friendly URLs – in this field you can enter a string that will be added at the beginning of your link. For example, setting the prefix to “document” will make the “unfriendly” link /index.php?id=2 look like /document2.
- Suffix for friendly URLs – here you can enter a string that will be attached at the end of your links. If we use the example above, if you set the suffix to “.html”, your friendly link will look like this: /document2.html.
- Use friendly aliases – if you set this option to “Yes”, setting a specific alias for any of your documents will overwrite the settings for your friendly URLs. This means that if you set an alias for a document to “images” for example, the link to it will be /images despite the fact that you have set prefix and suffix for the friendly URLs. On the other hand, if you disable this option, the settings on this page will be applied even if you have aliases set for your documents.
- Use friendly alias path – Enabling this option will display your documents inside containers in a search-friendly way. For example, if you have a container with alias “main-manu” and in it a document with alias “sub-menu” the link to the second document will be /main-menu/sub-menu.
- Allow duplicate aliases – This option will allow you to set different documents with the same aliases. You should enable the Use friendly alias path option first if you want to use this functionality in order to avoid broken links.
- Automatically generate alias – If you enable this option, the alias for your documents will be generated automatically based on the title you have set for your document.