Phone: 1(877) 215.8104
 Login
LoginTo modify your templates go to Resources -> Manage resources -> Templates. On this page click on the template you want to edit.

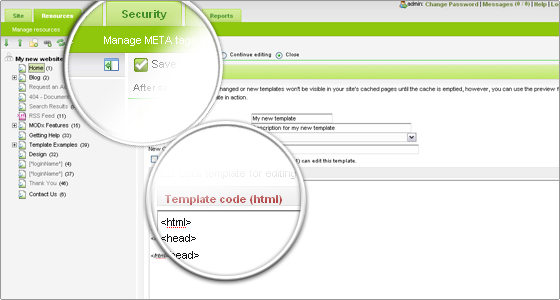
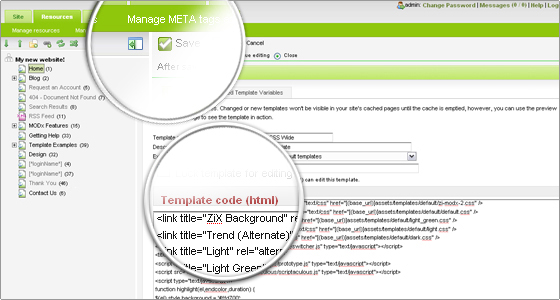
On this page you will be able to modify the HTML code of your template and change its looks. Once you are ready with the modifications, press the Save button and your template will be updated.
You should always make backups of your template before you start modifying since a potential error in it may render your website blank.
How to install a new template
To add a new template to your MODx website, go to the Resources -> Manage Resources page and click on the New template link.
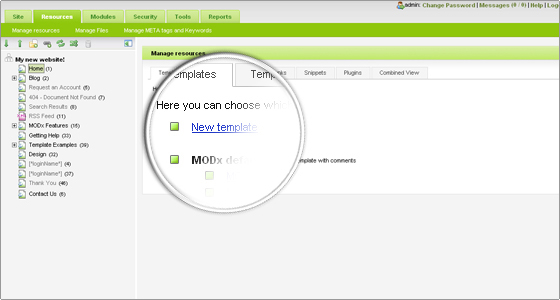
In this page there are a few things for your template that you should define:
- Template name – You should specify a unique name for your template.
- Description – Write a short description for your template.
- Existing Category – Choose whether you want to place this template into a pre-defined category.
- New Category – If you want to create a new category for your template, enter the name for it in this field.
- Template code (html) – This is the main part in the template creation process. Here you should paste the HTML code for your template. Note that if it requires external files like CSS files for example, you will have to upload them separately to the appropriate location.
Once you enter the information for your template, click on the Save button at the top of the page in order to save it. From now on you will be able to use it for your documents.