 Phone: 1(877) 215.8104
 Login
LoginIn this tutorial we will take a tour through the admin area of CMS Made Simple.
Logging in the admin area.
The CMSMS admin panel can be accessed through yourdomainname.com/cmsms/admin:
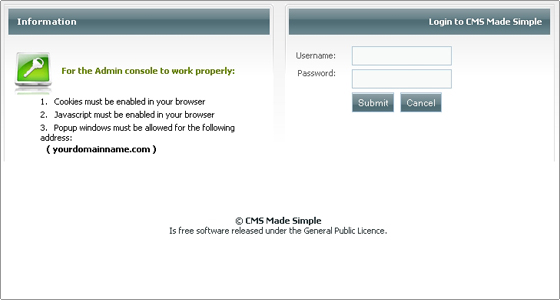
Fill in the admin username and password you set during the installation and click Submit to log in.
Once you log in, you will see a message notifying you that “You have 2 unhandled notifications“. When you click the + button next to the message, you will see the notifications:
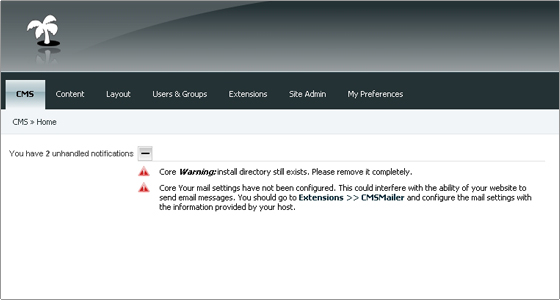
The first notification warns you that your install directory still exists, and the second notification tells you that you have not yet configured your mail settings.
You can easily delete the install folder using cPanel’s File Manager or using your favorite FTP client.
More information on how to configure CMSMailer can be found in the CMSMS mail configuration section of our tutorial.
Admin menus
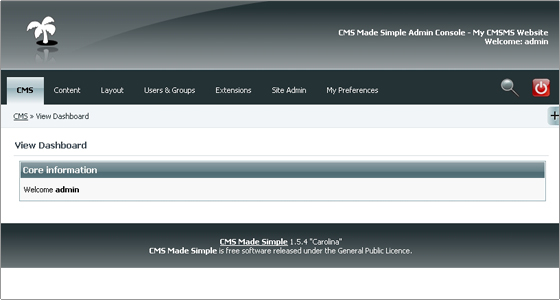
The horizontal menu in the CMS Made Simple admin panel is the main navigation tool for the admin area. This menu provides access to all administration functions:
CMS – from this menu you can access the admin Home and Dashboard sections. You can also view your site and log out from the admin panel.
Content – from here you can manage your content (pages, content blocks) and access the Image Manager and File Manager.
Layout – from here you can manage your menus and templates.
Users & Groups – as the name suggests, from this menu you can manage your users and groups and their permissions.
Extensions – from this menu you can manage the different CMSMS extensions – tags, modules, events, CMSMailer, etc.
Site Admin – here you can manage your global settings, page defaults. You can also view the system information and admin logs.
My Preferences – from this menu you can manage your admin user.
On the right of the main menu there are two additional functions:
– A View Site link – clicking it will open your site in a new window
– A Logout link
Global Settings
The global settings for your CMSMS application can be managed from the admin area > Site Admin > Global Settings.
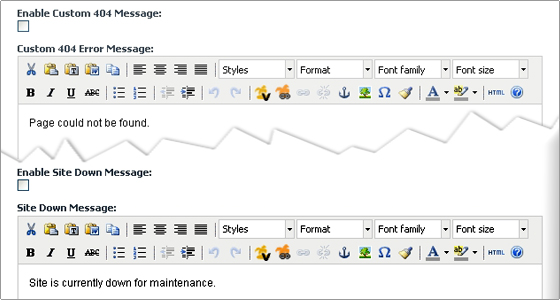
From here you can clear the CMSMS cache, change the name of your site, choose a default frontend language.
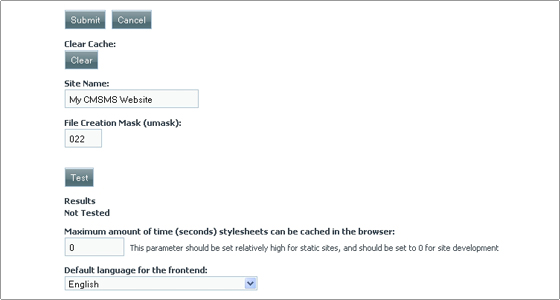
You can also set a custom 404 error and site down messages:
CMSMS Extensions
- Modules
Most of CMS Made Simple’s features are actually built-in modules. For example, the File Manager is a module which can be easily disabled and even uninstalled from the CMSMS admin area > Extensions > Modules.
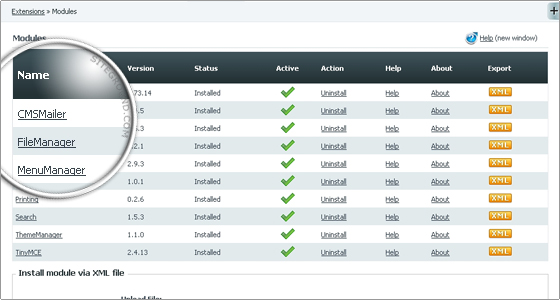
From here you can also install new modules from XML files. All you need to do to install a new module is click the Browse button, locate the module’s XML file and then click Submit to upload it. To complete the installation, click the Install button next to the module.
- CMSMS mail configuration – CMSMailer
The module which controls the mail settings in CMSMS is called CMSMailer. You can access it from your CMSMS admin area > Extensions > CMSMailer.
Let’s configure your CMS Made Simple to work with SMTP authentication.