Phone: 1(877) 215.8104
 Login
LoginHow to create a new page
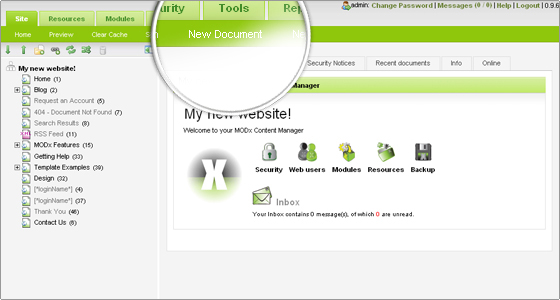
Adding a new page to your website is very simple with MODx. All you have to do is go to Site -> New Document.
The document creation interface is separated into three tabs – General, Page Settings and META Keywords.
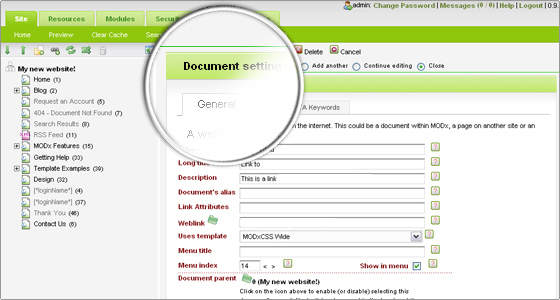
In the General tab you can enter the main part of your document – the HTML title, intro text for the document and of course its main body. Note that with MODx you can make each document in your website use a different template. This is done by changing the value of the “Uses template” option. This provides you with the freedom to design your website exactly the way you want it.
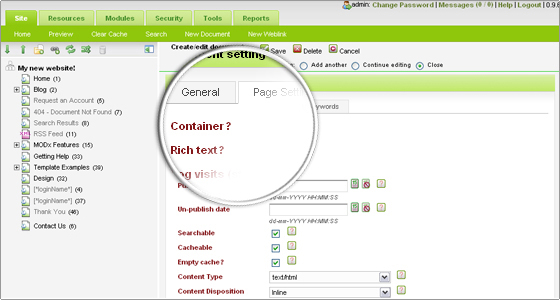
In the Page Settings tab you will be able to set different system settings for the document like whether it is a container (category of documents), is it published, should it be cached, etc. With MODx you can prepare a new document and set it to be published on an exact date and time. This is especially useful if you are writing about a certain event.
You can do this by setting the “Publish date” to the desired value. Then you can set the document to be unpublished on a certain date. This is useful if the article/post will become obsolete in a certain amount of time. This can be achieved by setting the “Un-publish” date option to the desired date and time. Another important option in this tab is the “Searchable” checkbox. If you unmark it, this document will not be indexed by the search engine of your website.
The META Keywords tab allows you to assign certain keywords to the document. To select multiple keywords from the list of available words, press the Ctrl key on your keyboard and click on the selected values.
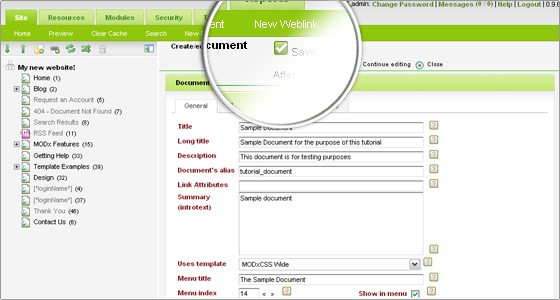
Once you are done with the creation of your document, click on the Save button in the top menu. This is all you need to do to add a new page to your website.
How to add new weblinks to your menu
Generally, weblinks are menu items that point to either an external URL or to a document within your website. To create such weblink click on the Site -> New Weblink button in the MODx Manager. You should be familiar with the page that loads since it is very similar to the one for creating new documents. Again, the creation page is separated into three tabs – General, Page Settings and META Keywords.
In the General tab you should set the most important things for your weblink – the title and the URL that the links point to. In addition, you can create tree menus. To do this you need to set the “Document parent” option for your sub-link items.
In the Page Settings tab you can specify whether this weblink is published or not, when should it be published or unpublished and whether it should be searchable. The last option tells MODx whether to include this weblink in its search engine.
How to create containers for your pages
The containers in the MODx structure play the role of “folders” or “categories” for your documents. For example you can create a container named “My vacations” and then post in it all of the pages for your trips.
To create a Container click on the Site -> New Document page. Set the Title of your container and go to the Page Settings tab. In it make sure you place a check in the “Container?” checkbox. Now click on the “Save” button at the top of your page and your container is ready!
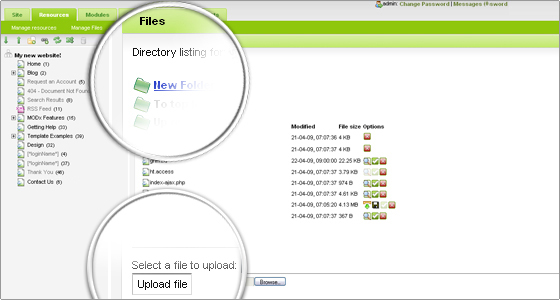
How to add files to your site through the MODx Manager
With MODx you can easily modify the files in your account. If you go to the Resources -> File Manager page you will load a fully operational File Manager. You can use it to upload, edit, extract (for archive files) and delete your files. You can create folders or delete such too.
To upload a file to your account, first click on the Browse button and select the file on your local hard disk. Then click on the Upload button and the file will be uploaded to your account. Note, however, that for big files it is highly recommended to use FTP to upload them to your account.