 Phone: 1(877) 215.8104
 Login
Loginn this tutorial we will show you how to upgrade Pixelpost.
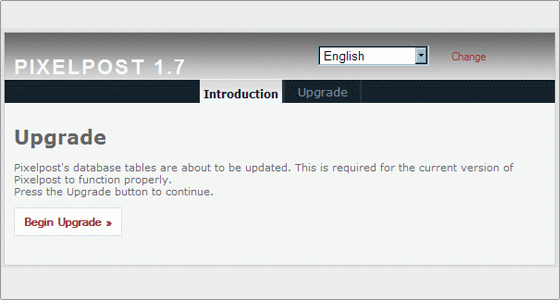
Before you start upgrading your PixelPost website, make sure you create a backup. Next, you have to download the installation package of the new PixelPost version from the official website(http://www.pixelpost.org/) of the application. Then extract it in a folder in your local hard drive. Once you do that remove the “images” and “thumbnails” folders from the extracted archive. Next you can use your favorite FTP client to upload the new files over the old ones. Don’t remove the old files from your PixelPost application, just overwrite them with the new ones when asked.Once you do that, navigate to http://yourdomainname.com/pixelpost/admin/install.php and follow the instructions in the upgrade wizard. Actually, you only have to click on the Begin Upgrade button. The wizard application will then do the rest for you.
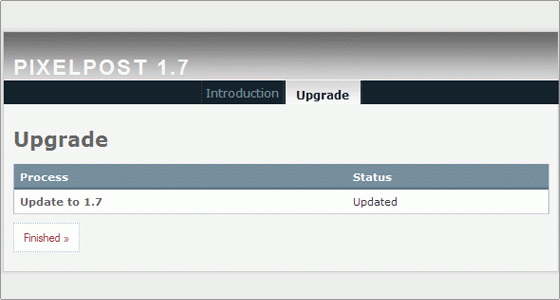
Finally click on the Finished button. You have just upgraded PixelPost to its latest version!
Note that some of the addons you have can be disabled by the upgrade wizard due to version incompatibilities. In such case you should check the official websites of those addons in order to receive more information on how to upgrade them.