Phone: 1(877) 215.8104
 Login
LoginIn this tutorial we will show you how to install ImpressCMS. To complete the installation, follow the steps below.
STEP 1 Create a MySQL database and add a new user to it. This can be done easily with cPanel by following the MySQL tutorial.
STEP 2 Download ImpressCMS from the official website.
STEP 3 Upload the package to your hosting account and extract it there.
The structure of the extracted folder will be:
docs/extras/htdocs/release_notes.txt
upgrade/XOOPS_copyrights.txt
The files you need for a new ImpressCMS installation are located in the htdocs folder.
STEP 4 Copy/move these files to the folder where you wish to install Impress CMS. In our tutorial we will install ImpressCMS in a folder called impress.
STEP 5 Once you create the folder and move the files there, open your browser and go to www.yourdomainname.com/impress:
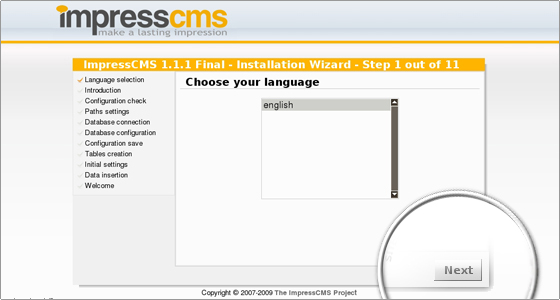
Currently only English is available, so you should simply click “Next”.
STEP 6 The next page is the ImpressCMS introduction page:
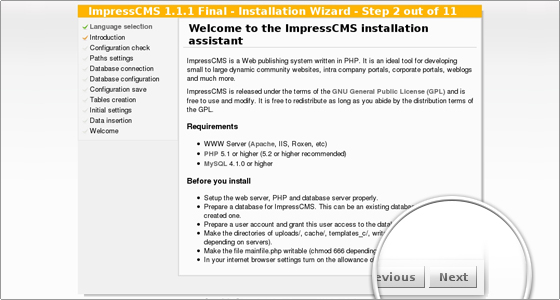
Click “Next” to proceed.
STEP 7 The next step is the server configuration check. All FastWebHost servers meet all of Impress CMS’ requirements:
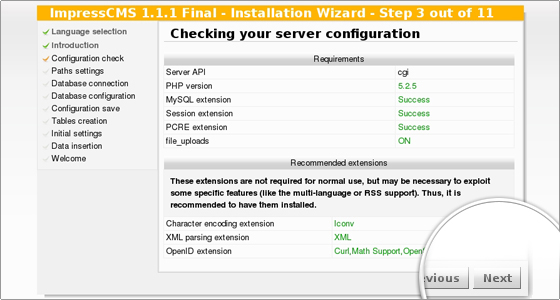
so you can safely click “Next” again.
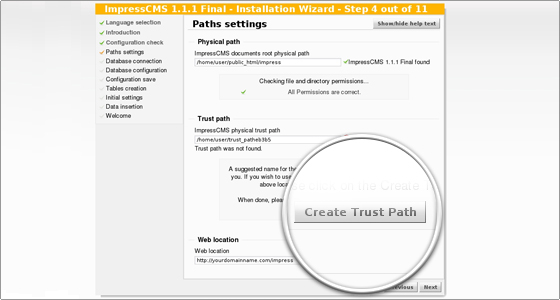
STEP 8 The next page shows the path settings. The application should automatically determine the paths, so unless you know what you are doing, you can leave all paths unchanged. The only thing you should do here is click “Create Trust Path” to create a trust path for your ImpressCMS application.
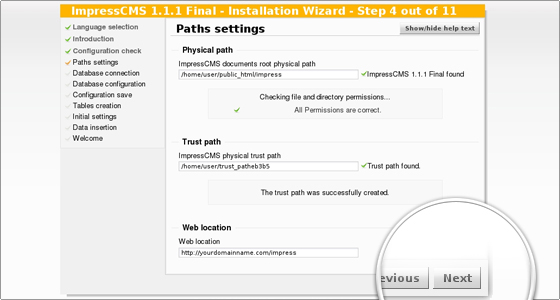
Then your path will be created and you will be able to proceed to the next step by clicking “Next”.
STEP 9 Next is the database connection page. Here you should enter the MySQL user you created earlier.
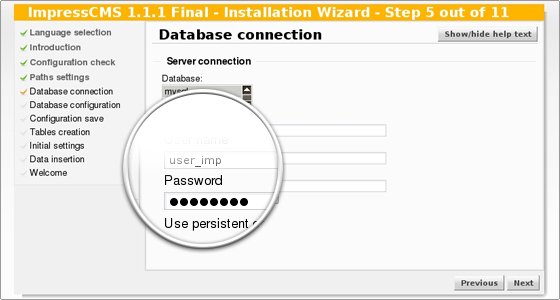
You can leave the “Use persistent connection” option unchecked.
Click “Next” and you will be taken to the database configuration page where you should enter the MySQL database you created earlier.
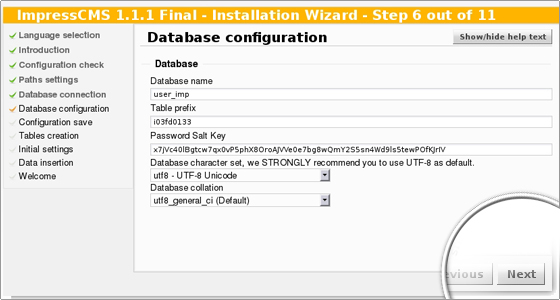
Unless you know what you are doing, you can leave the rest of the options unchanged and click “Next”.
STEP 10 In the next step of the ImpressCMS installation your configuration settings will be saved to mainfile.php. Click “Next” to proceed.
STEP 11 On the next page of the installation the system tables will be created – click “Next” to confirm their creation.
STEP 12 Once the tables are created, you should once again click “Next” to proceed to the admin account creation page:
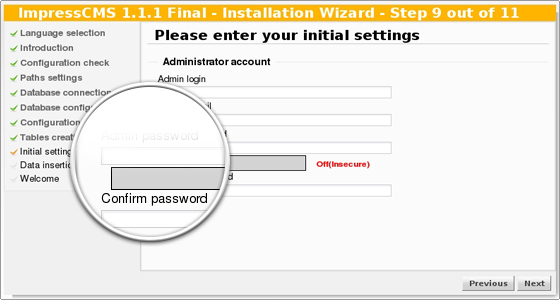
STEP 13 Type the details for the administrator account, click “Next” two more times and you will finally reach the installation successful page:
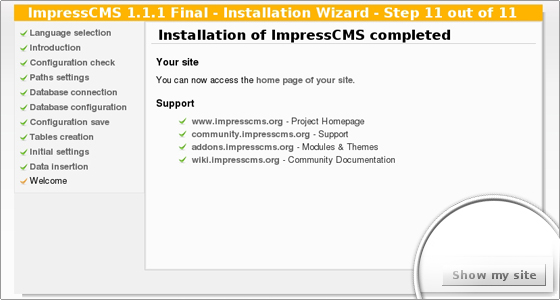
STEP 14 The ImpressCMS installation is now completed. Click “Show my site” and you will be taken to the front page of your newly-installed Impress CMS.