Phone: 1(877) 215.8104
 Login
LoginIn this tutorial we will show you how to install modules in ImpressCMS.
In order to learn how to install modules in Impress CMS, we’ll install the Protector module. Follow the steps below to complete the installation.
STEP 1 The first thing you should do is download the module from this URL.
STEP 2 Upload the archive to your account and extract it there.
The extracted package will contain two directories:
html/xoops_trust_path/
STEP 3 Move the contents of the html folder directly into your Impress CMS installation directory.
STEP 4 Move the contents of the xoops_trust_path folder to your trust path.
The trust path for our Impress CMS installation was automatically set to /home/user/trust_patheb3b5. This path will vary depending on your Impress CMS installation.
STEP 5 If you remember, when we extracted the Impress CMS package, there was a folder “extras” along with the html and the other directories.
Inside the extras folder there is another folder called “preload”. Inside this folder is the file we need in order to complete the Protector installation. The file is called protector.php and you should copy it to your ImpressCMS main folder.
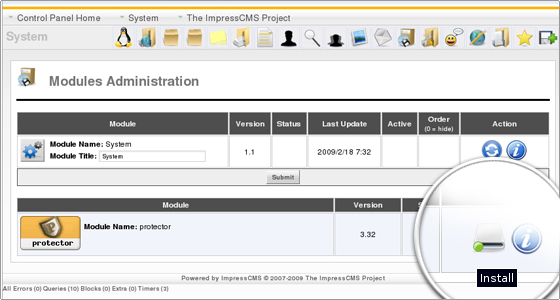
STEP 6 The final step is to install the module from your Impress CMS admin area. Log in as administrator and go to Modules. There you will see that the Protector module is ready to be installed.
All you have to do is click the install button to initiate the module installation:
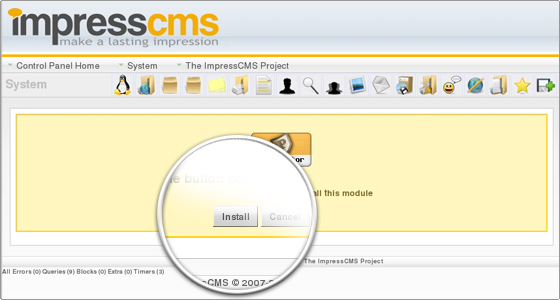
and then click Install to complete the installation:
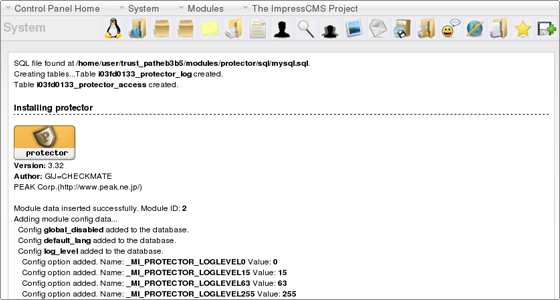
You will see the installation log and this will complete the Protector module installation.