 Phone: 1(877) 215.8104
 Login
LoginPrior to attempting an upgrade for your IPBoard make sure that you have performed a full backup. Detailed instructions how to perform a backup for your website you can find in our cPanel Backup Tutorial. It is always important to have a working backup prior to making any changes that could affect your website functionality.
To run the upgrade you need to acquire the new release from the IPBoard official website. Once you have it downloaded to your computer extract the archive locally. You will find a folder named “upload” in the archive. You will need to upload the contents of the upload folder to your IPBoard directory and overwrite the existing content. You can upload the files via an FTP Client.
Note that this will overwrite only the default IPBoard files and should not affect your board functionality. However, if you have made custom changes to any of those files the changes must be re-applied once the upgrade is completed.
Once the files are uploaded you are ready to run the upgrade. To do so simply access /admin/upgrade/index.php for your IPBoard. For example:
http://yourdomain.com/ipb/admin/upgrade/index.php
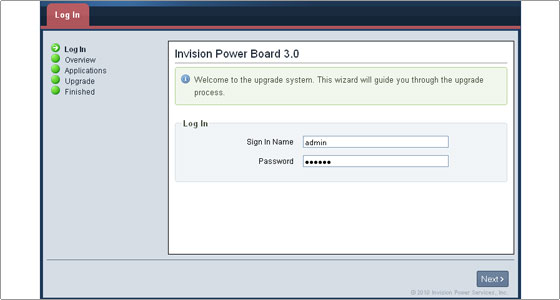
This will load the upgrade screen. You will need to login with the administrative details for your online board in order to run the upgrade. Enter the admin login details and click Next.
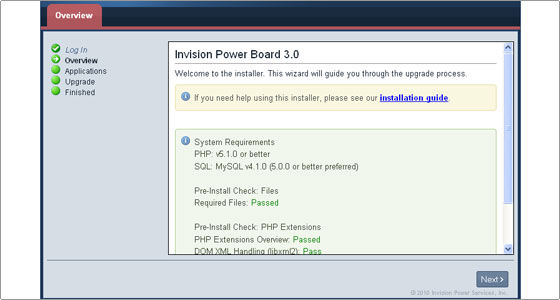
You will see the System Requirements Overview screen. Click Next again.
On the next screen you will see the Default Applications, the IPS Applications and the Third Party Applications for your online board. In case any needs to be updated you will be able to select them and run the upgrade. The system automatically determines which upgrade modules need to be run and it will automatically rebuild the templates for you.
That is all. The upgrade is now completed.