 Phone: 1(877) 215.8104
 Login
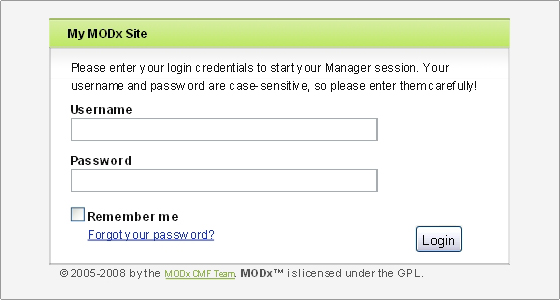
LoginHow to login to the administrative end of MODx
The MODx Manager allows you to modify each part of your website. To access it, navigate with your browser to http://www.yourdomainname.com/manager. You will be prompted to enter the administrative credentials you have set during the installation process. Once you log in, you will be brought to the index page of the MODx Manager. You can now continue reading this tutorial for detailed information on the tools it provides.
How to configure your MODx application
When you log in to your MODx Manager, you should first set the basic preferences for your website. You can do this from the Tools -> Configuration -> Site page. Below you can find a brief explanation of each option that MODx allows you to change:
- Site name: In this field you should type the name of your website. It is used for the title of your index page;
- Language: Select the language for your interface. You can choose from the already installed languages. If your language is not in the list, you have to install it first (if it is available). Once you do this, you will be able to select it from this list;
- Character encoding: This option defines the encoding for the text in your website. Generally, Unicode (utf-8) should work fine for all languages.
- Manager Text Direction: Here you can choose “ltr” (left-to-right) or “rtl” (right-to-left) depending on the specifics of the used language;
- Manager HTML and XML Language Attribute: Enter the language code that best fits with your chosen language. This will ensure that browsers will display your content correctly;
- XHTML URL: Select whether you want the ampersand (&) characters in URLs generated by MODx to be replaced with the & HTML code;
- Site start: In this field you should set the ID of the document that you want to show on your index page;
- Error page: Select the ID of the document you want to redirect your visitors to if they receive a 404 Page Not Found error;
- Unauthorized page: Enter the ID of the document you want to redirect your visitors to if they receive a 403 Forbidden error;
- Site status: Change your website status from Online to Offline and vice-versa. This option is useful if you want to disable the access to your website if you are making upgrades to it;
- Site unavailable page: Set the ID of the page you want to redirect your visitors to if your website is in Offline mode;
- Site unavailable message: Defines the message that your visitors will see if you set your website in Offline mode. This message will only be displayed if the Site unavailable page option is not set;
- Log visits (stats): Select whether you want to enable the MODx logging engine. This option will have no effect unless you have a visitor tracking or statistics resource installed that supports this setting. Logging visits will allow you to view your site’s usage statistics.
- Top how many: Defines how big should be the “Top…” list when you view the reports for your website;
- Default template: Choose the default template for your website;
- Published default: Select whether your new pages should be published by default or no;
- Cacheable default: Enable or disable the caching for new documents by default;
- Searchable default: Select yes if you want to make all new documents searchable by default. Otherwise they will not be indexed by the application each page;
- Menu indexing default: Select Yes if you want your menus to be updated by default;
- Custom content types: You can use this option to add custom MIME types. Enter the content type in the text box then click the Add button to enable it;
- Server offset time: Set the time offset depending on the timezone you are currently in;
- Server type: Set this option to http:// or https:// depending on whether you want to use SSL with your website or not;
- Validate HTTP_REFERER headers?: Checks the headers your visitors’ browsers send against CSRF (Cross Site Request Forgery) attacks;
- RSS News Feed: Input the URL for the MODx News Feed. You can leave this to the default value;
- RSS Security Feed: Set the URL for the MODx Security Feed. You can leave this to the default value too;
Once you are done with setting the preferences of your site, click on the Save button at the top of your screen to make your modifications active.
The MODx Modules
The MODx Modules add new functionality to your website. You can easily manage, delete or install new modules from the Modules -> Manage Modules page in your MODx Manager.
To add a new module to MODx, click on the New Module link. Then set the name and description for your module and paste the PHP code for it. When finished, press the Save button and the module will be ready to use.
To activate and start using a certain module simply click on its name in the top menu. Depending on the module itself, you will be able to do different tasks from the page that loads.