 Phone: 1(877) 215.8104
 Login
LoginPlease note that the last phpNuke version those templates were tested on is 7.9. They might still work with newer releases but we cannot guarantee all themes will function flawlessly with phpNuke versions newer than 7.9.
Changing your PHP-Nuke theme is quite an easy task. Generally, you just have to download the theme archive, extract it to your local computer and upload it to your ‘phpNuke themes’ directory. A good source of free PHP-Nuke themes is the PHP-Nuke template gallery at FastWebHost Now let’s try to change a theme.
First, you will need to find a theme archive to use. For the purpose of this tutorial, please, choose any of the templates available at the PHP-Nuke template gallery. Please, download the .zip file of any theme on your local computer and extract it. This will create a new directory named after the theme’s name.
To make the new template available for your PHP-Nuke application, however, we will have to upload it first. Please, open an FTP connection using your favorite FTP client and navigate to your PHP-Nuke directory. In our case this is the ‘public_html’ directory. From there, please enter the themes directory and upload the whole extracted theme directory. This will create a new directory with the same name, which will have the following full path: /public_html/themes/theme_name.
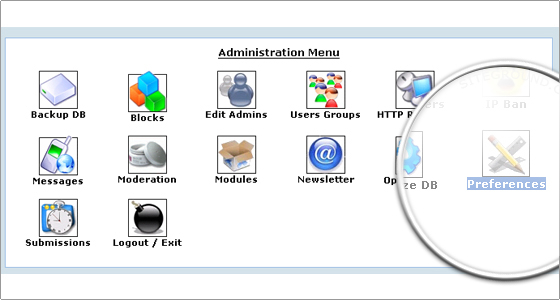
Once uploaded, please enter your PHP-Nuke administrative control panel (using admin.php) and click on the Preferences tab.
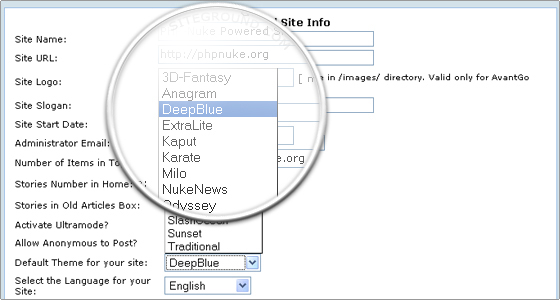
Scroll down a little and locate the ‘Default Theme for your site’ drop-down menu. Click on it and select the new theme from the list in order to switch to the new theme. Click on the Save Changes button at the end of the page and the new theme will be up.
Additionally, you can try changing the theme to one of the pre-installed themes that comes with every default installation of PHP-Nuke.