 Phone: 1(877) 215.8104
 Login
LoginIn order to install PostNuke manually, you will need to download the PostNuke package from here. Once you do that, you will need to upload it on your account using the File Manager tool or via FTP.
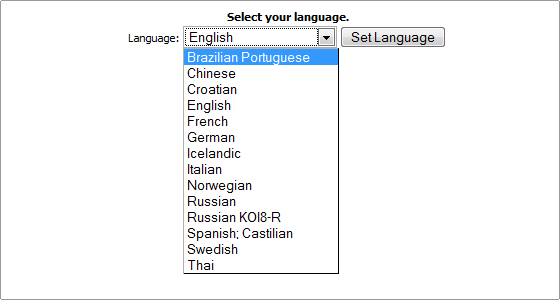
STEP 1 Select your language, and then click on the [Set Language] button.
STEP 2 Read and accept the General Public License agreement, and click Next.
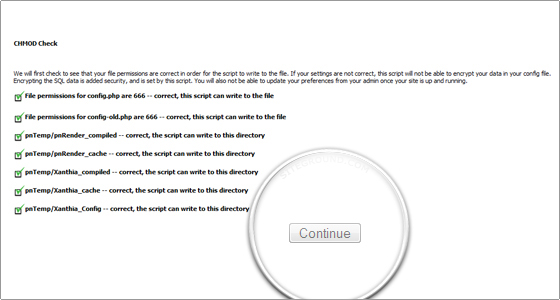
STEP 3 If the files config.php and config-old.php are set to CHMOD 666 you will see checkmarks indicating this. Click Continue.
STEP 4 Enter the database information:
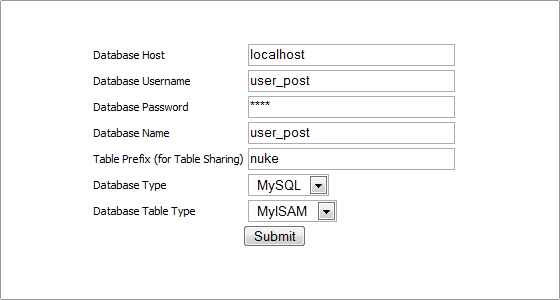
Database Host: localhost Database name: username_database * (the name of the database you created).Database username: the username that you created * Database password: the password for the username. Table prefix: nuke (a good name for table prefix)Database type: MySQL Database Table Type: MyISAM
STEP 5 Next step confirms the info you have entered. If any of the information is incorrect, click the [Edit Information] button. If the information you have entered is correct, click New Installation.
STEP 6 At this step a checkbox is there if you wish to create the database. You will not be checking this box, as the database has already been created.
STEP 7 Next page lists all the tables created in your MySQL database. Click the [Continue] button.
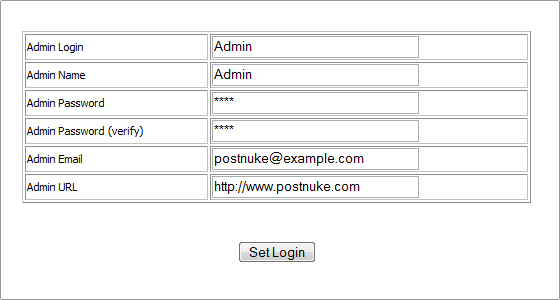
STEP 8 Next, please, enter the information for your Postnuke Admin account. Fill in all the fields, and then click [Set Login].
You will see a list of updated tables in this step. Click the [Finish] button. Well done! You have now finished your Postnuke installation. Click [Go to your PostNuke] site to view your newly installed Postnuke script.