Phone: 1(877) 215.8104
 Login
LoginIn order to install the Xoops CMS application manually, please follow the step-by-Step instructions below:
STEP 1 Download the Xoops installation file.
STEP 2 Upload it in the public_html folder of your account.
You can do that through a FTP client like FileZilla or via cPanel -> File Manager -> Upload file(s). After the installation is completed, the script will be accessible once your go to the installation directory yourdomainname.com. Alternatively you can create a subfolder and upload there the installation file. The Xoops installation will be then available under yourdomainname.com/subfolder.
STEP 3 Once you are in the File Manager, please navigate to the uploaded Xoops package and extract the Xoops package by clicking on the Extract link.
It will create several subfolders. The Xoops CMS installation files will be located under the htdocs folder. If you wish, you can move the files one level up in the desired directory. The other option is to extract the file on your computer and then upload the content into the desired folder via FTP.
STEP 4 Change the file permissions to 755 for all the Xoops files and folders except the following ones:
uploads/, cache/, templates_c/, mainfile.php, xoops_data/, xoops_data/configs/, xoops_data/caches/, xoops_data/caches/xoops_cache/, xoops_data/caches/smarty_cache/ and xoops_data/caches/smarty_compile/. They should remain 777. This can be done through an FTP client or from cPanel -> File Manager -> File permissions.
STEP 5 Now you should create a MySQL database for Xoops.
You can do that from cPanel -> MySQL Databases. You should create a new database and add a new user to it – click here to learn how to create MySQL database and user.
STEP 6 Navigate to the URL of your Xoops site and run the index.php file (for example http://yourdomainname.com/index.php)
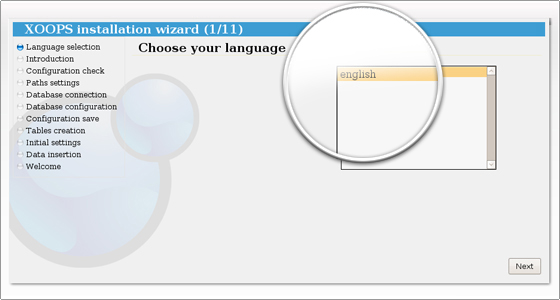
STEP 7 Pick the default language for your web site:
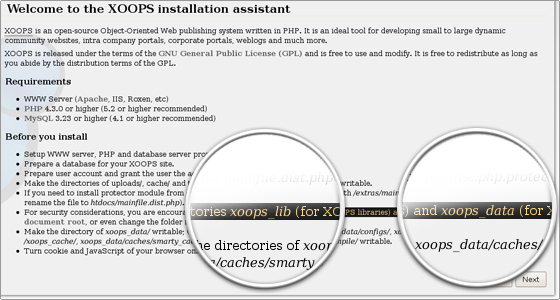
STEP 8 Move the directories xoops_lib (for Xoops libraries) and xoops_data (for Xoops data) out of public_html folder and click on the Next button:
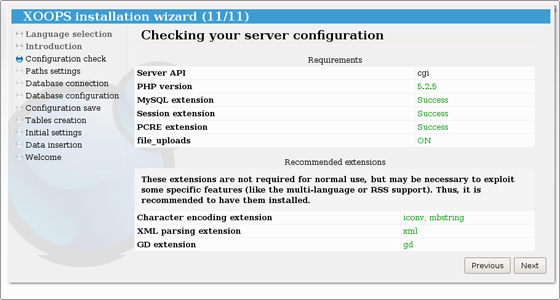
STEP 9 The system will check the server configuration.
If everything is correct, please click on the Next button. Otherwise the system will inform you about the problems which have occurred.
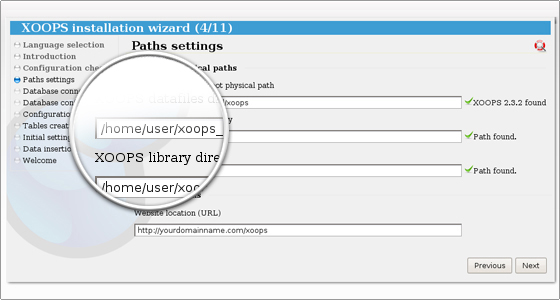
STEP 10 Enter the correct path to your folders.
If you have moved the xoops_lib and the xoops_data folders, you should adjust the paths to them:
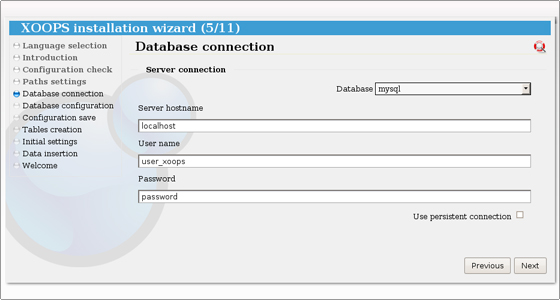
STEP 11 Enter the MySQL details, which you have set up in Step 5.
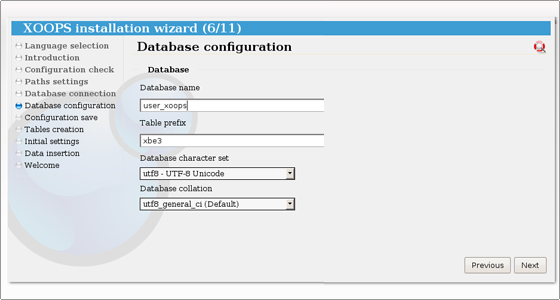
STEP 12 Enter the database name, the desired prefix for the database tables, the collation and the charset:
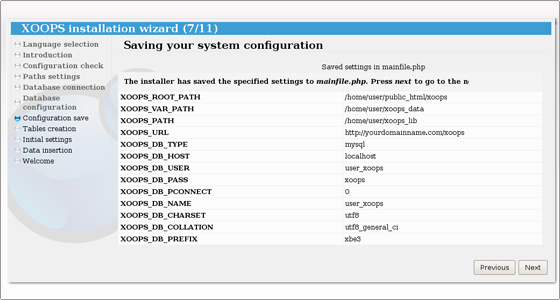
STEP 13 The installer will save the configuration in the mainfile.php. Click Next to continue.
STEP 14 The database tables are created. Click Next to continue.

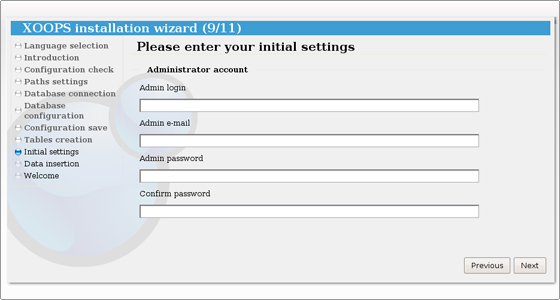
STEP 15 Enter the admin login details.
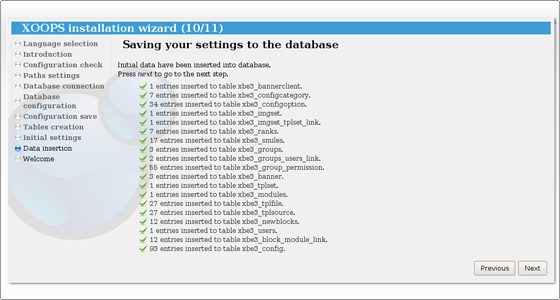
STEP 16 The database tables are populated. Click Next to continue.
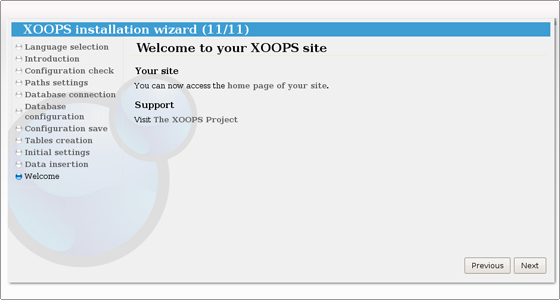
STEP 17 The Xoops installation is successfully completed: