 Phone: 1(877) 215.8104
 Login
LoginTo install Zikula manually, you will need to download the Zikula package first. Once you do that, you have to upload the package on your account using the File Manager tool or via FTP.
When uploading the Zikula package to your hosting account, please make sure you upload it in your public_html folder or a subfolder of it.
You have to extract the package following the instructions listed in the File Manager tutorial. Then you need to edit the .htaccess file under the Zikula folder and remove the following lines from it:
php_flag register_globals offphp_flag magic_quotes_gpc off
After doing this you can create a new database and a user for your Zikula installation. Please, follow the instructions on how to create MySQL database and user.
Web Installation of Zikula
The next step is to point your browser to http://yourdomainname.com/path/to/install.php. If you want to install the Zikula directly into the public_html folder on your site, then you have to point your browser to http://yourdomainname.com/install.php. In both cases please change the above strings with the actual URL for your script.
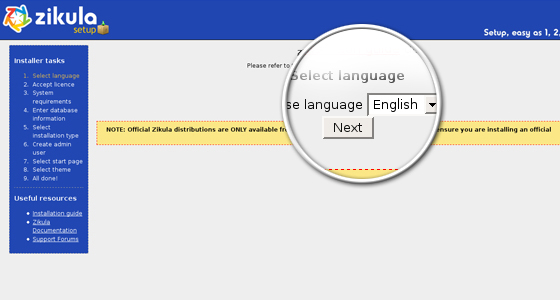
STEP 1 Select your language and then click on the Next button.
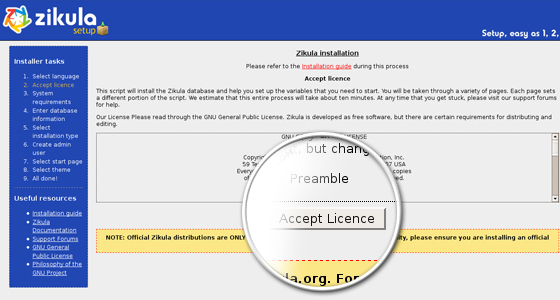
STEP 2 Read and accept the General Public License agreement, and click on Accept Licence button to continue.
STEP 3 The script checks whether all the system requirements are met. If there is a problem, you will be informed. If everything is correct, click on the Next button.
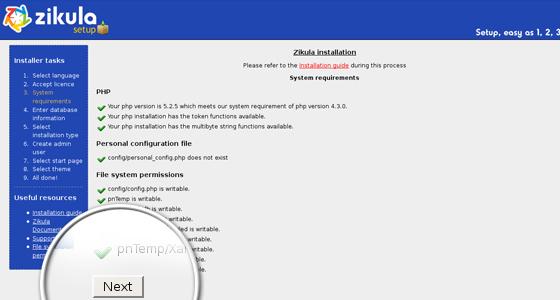
If you do not see the same as the image above, please login to the File Manager tool and correct the file permissions. Click here to learn how to change file/folder permissions.
STEP 4 Enter the database information as follows:
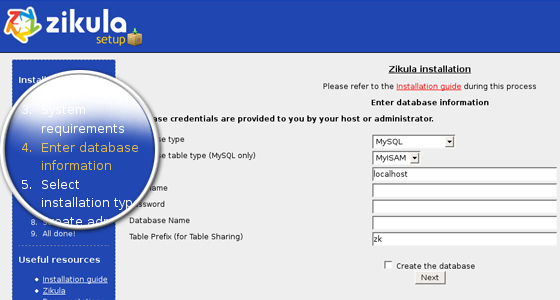
- Database type: MySQL
- Database Table Type: MyISAM
- Database Host: localhost
- Database username: the username that you created *
- Database password: the password for the username.
- Database name: username_database * (the name of the database you created).
- Table prefix: nuke (a good name for table prefix)
* Please note that both your database name and user get the cPanel username prefix. For example if you add a database called zikula and your cPanel username is user, the full name of the database will be user_zikula.
Leave the rest as it is and click on the Next button.
STEP 5 On the next step you can select the installation type. The two options are:
- Basic – only the modules required for the basic operation of a site are installed.
- Complete – all the modules found in the system are installed.
![]()
Click on the Next button to continue.
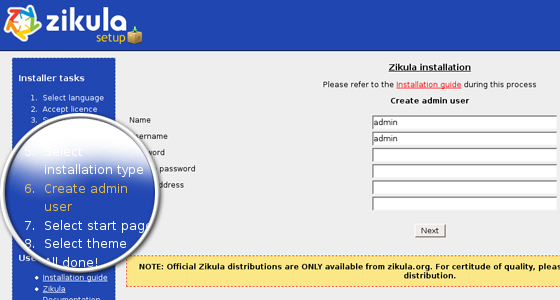
STEP 6 Next, please, enter the information for your Zikula Admin account. Fill in all the fields, and then click Next.
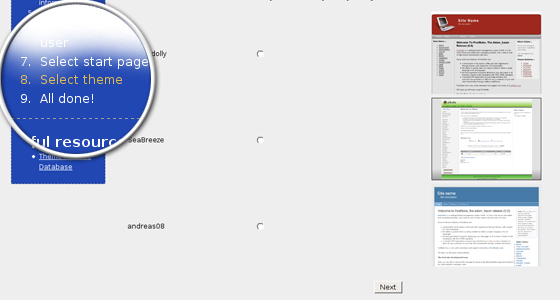
STEP 7 Now you can pick the module for the start page. Please note that you can change it on a later stage. Please click Next when you are ready.

STEP 8 At this point you should pick the default web site theme. Please note that you can change it later. Please click Next when you are ready.
Well done! You have now finished your Zikula installation.
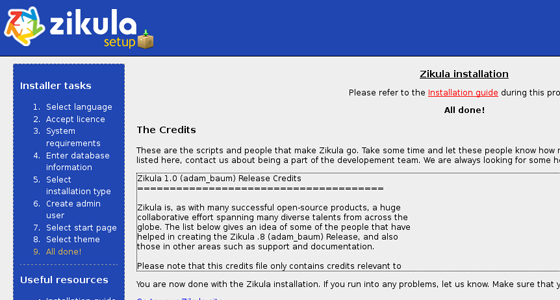
Click on the Go to your Zikula site button in order to check it.