 Phone: 1(877) 215.8104
 Login
LoginMicrosoft’s recent stance towards Linux is changing, and this is shown by their actions. One of those move includes the release of Visual Studio Code for all the platforms including Linux. That’s a great step as Linux offers great development environment.
If you are looking how to install Visual studio code in Ubuntu, you have come to the right place.
For this tutorial, we are going to use the latest stable Ubuntu version(16.04.03) at the time of writing. There are many ways you can install VS Studio Code in Ubuntu. We will go through all of them one by one.
How To Run Visual Studio Code On Ubuntu 16.04
1. Installing using the .deb files
Linux comes with a package manager. You can use the package manager to install the Visual Studio Code in Linux easily. To get started, you first need to download the package files for VS Code. You need to choose the right file type for a successful installation. For example, you can use the .rpm format for RedHat, Fedora, SUSE and .deb for Debian and Ubuntu.
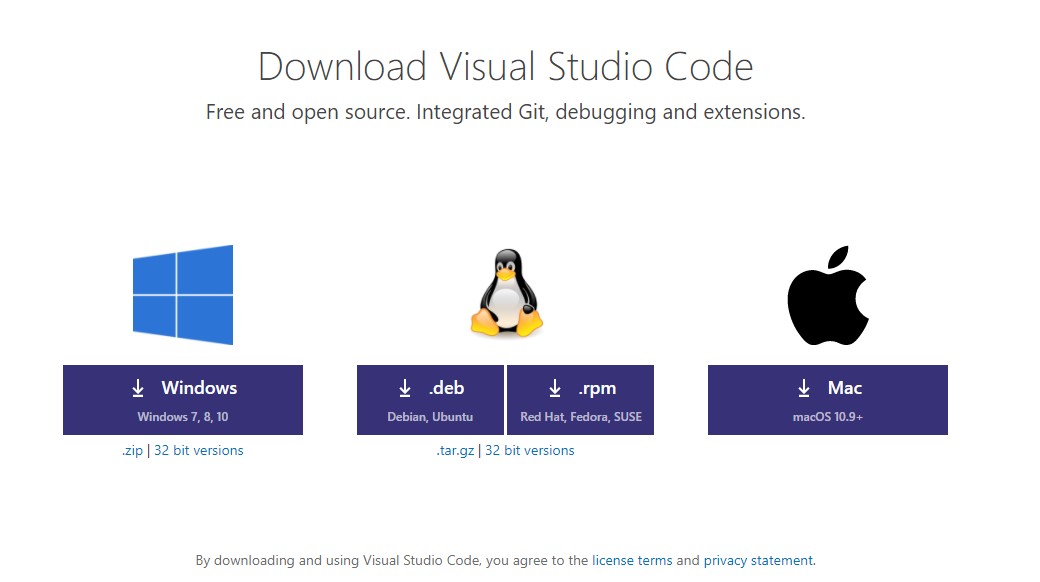
As we are using Ubuntu Linux distro, we will download the .deb file.
Note: If you are using 32 bit Ubuntu, then you have to download different files. You can also download the .tar.gz file and use the command line for installation.
Once downloaded, you need to double-click to install it. If you are using Linux installation in a web hosting environment, then this method will not work. Let’s move to the second method which uses umake for installation.
2. Umake
Umake is a command line utility which is primarily used to install development related tools, IDE’s and languages. It was previously known as Ubuntu Developer Tools Center.
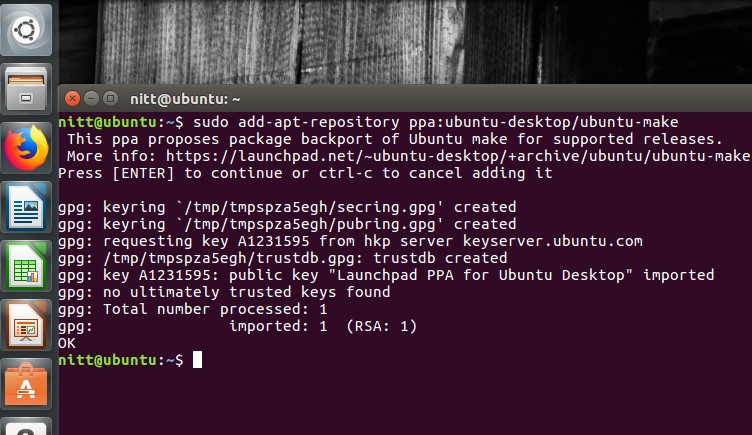
To get started, you need to use the following commands in the terminal. The first set of commands will download Ubuntu make using PPA.
Note: Ubuntu umake is only available for Ubuntu 15.04 and above.
sudo add-apt-repository ppa:ubuntu-desktop/ubuntu-make
sudo apt-get update
sudo apt-get install ubuntu-make
Once done, you need to install Visual Studio Code by using the following command.
sudo umake web visual-studio-code
It will ask for an installation path. You can change it or keep it as it is.
Once done, press “a” to accept the installation conditions.
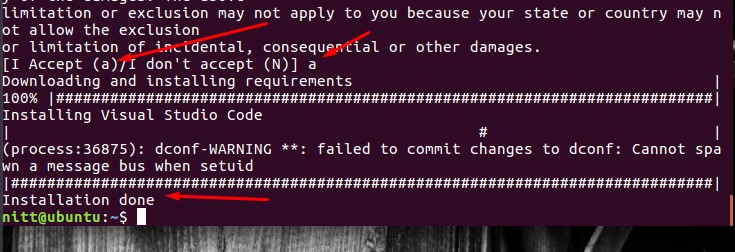
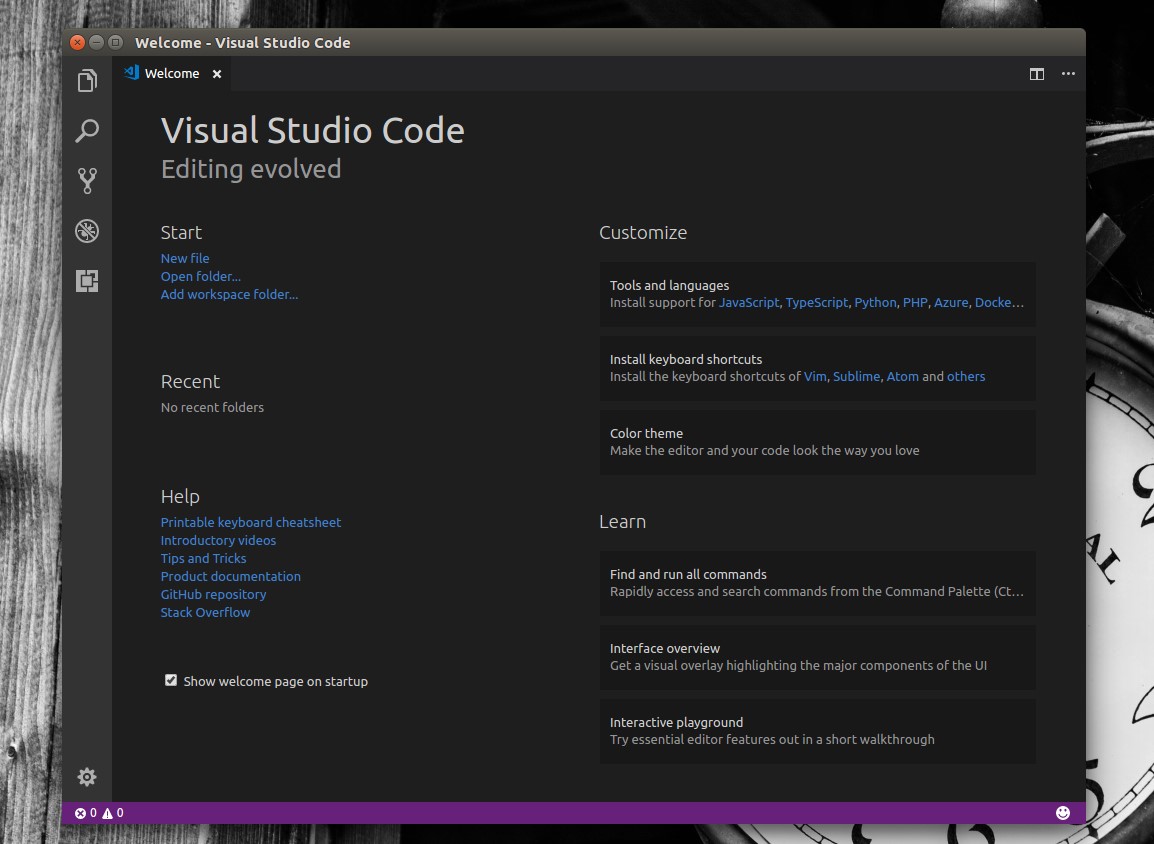
You are now set to use the visual studio code. You can open it by clicking the visual studio code.
Messed up something and want to reinstall Visual studio code? You can uninstall VS Code using the command below and then install it by using any of the methods mentioned here.
umake web visual-studio-code –remove
3. Using simple command line and CURL
There is another method that you can use which doesn’t need umake.
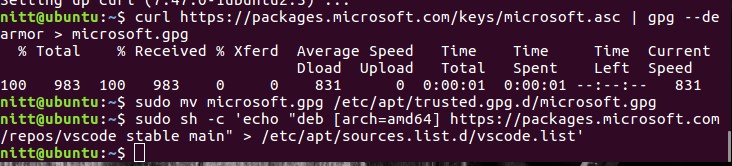
To get started, you first need to download the Microsoft GPG Key. You can do it by running the command on terminal.
curl https://packages.microsoft.com/keys/microsoft.asc | gpg –dearmor > microsoft.gpg

After downloading the key, it is now time to install it. Do it by running the following command.
sudo mv microsoft.gpg /etc/apt/trusted.gpg.d/microsoft.gpg
Both the above commands will not give any visual feedback. That is it will only execute without returning anything.
The next step is to run the following command to add VS Code repository.
sudo sh -c ‘echo “deb [arch=amd64] https://packages.microsoft.com/repos/vscode stable main” > /etc/apt/sources.list.d/vscode.list’
This will also not return anything in the terminal.
You are now set to download Visual Studio Code. Run the following code to make it happen!
sudo apt update
sudo apt install code
If you install using the method 3, you can uninstall using the following command only.
sudo apt remove code && sudo apt autoremove
Conclusion
That’s it. We have finally installed VS code in Linux(Ubuntu). You can use any of the above methods and start running VS Code in Linux.
So, what are you developing using VS Code? Comment below and let us know.


Leave a Reply